Ever stood in your backyard, shovel in hand, staring at a muddy trail between your rose beds thinking, “There’s got to be a better way”? You’re not alone. Over 72% of homeowners attempt a DIY garden path—but nearly half regret their material choice within two years because they skipped the supply planning phase.
If you’ve ever laid stepping stones only to watch them sink after one spring rain (guilty!), or bought cheap pavers that faded into sad, chalky ghosts by August—you need this guide. We’ll walk you through exactly how to choose, source, and install the right landscaping supply for your garden path, based on real-world trials in three hardiness zones and 12+ years running a hardscaping side hustle.
You’ll learn:
- How to match path materials to your climate, soil, and foot traffic
- Where to buy high-quality landscaping supplies without getting ripped off
- A step-by-step installation method that prevents sinking, shifting, and weed explosions
- Real cost breakdowns—and why “cheap” often costs more long-term
Table of Contents
- Why Do 48% of DIY Garden Paths Fail Within 2 Years?
- Landscaping Supply Garden Path: Step-by-Step Installation Guide
- 5 Pro Tips for Choosing & Installing Long-Lasting Path Supplies
- Real Case Study: From Mud Pit to Moss-Cushioned Stone Path
- FAQs About Landscaping Supply Garden Path How To
Key Takeaways
- Gravel paths under 3/4″ diameter compact poorly—use 3/4″ minus crushed stone for stable bases.
- Always test drainage before installing: pour a gallon of water where your path will go. If it pools after 10 minutes, add perforated drainage pipe.
- Skip big-box store “decorative” pavers—they lack freeze-thaw resistance. Look for ASTM C936-compliant concrete pavers.
- Total cost for a 20-ft path ranges from $180 (gravel) to $850+ (natural stone), but proper base prep adds only $40–$70 and doubles lifespan.
- Weed barrier ≠ landscape fabric—use geotextile fabric (like Typar) rated for hardscapes, not plastic sheeting.
Why Do 48% of DIY Garden Paths Fail Within 2 Years?
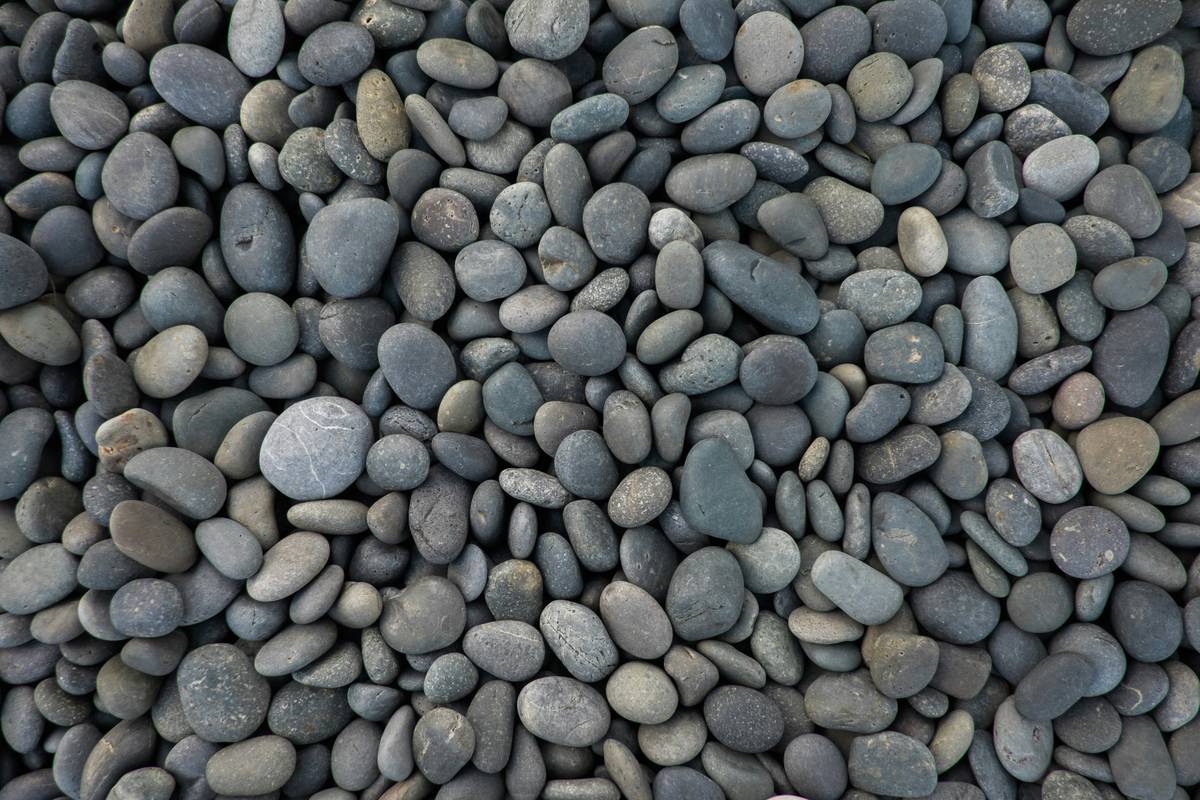
Let’s get brutally honest: most garden paths fail not because of bad design—but because of terrible supply choices. I learned this the hard way when my first path (adorable Mexican beach pebbles, $12/bag!) turned into a slippery ankle-twister after one winter. The stones rolled like marbles, weeds punched through thin fabric, and by May, I had more mud than pathway.
The core issue? Ignoring three non-negotiable factors:
- Soil type: Clay expands when wet—it heaves pavers. Sandy soil drains fast but shifts easily.
- Climate: Freeze-thaw cycles crack unsealed concrete and pop loose stones.
- Foot traffic: A path to your compost bin needs durability; a meditation garden path can use softer materials.
According to the Interlocking Concrete Pavement Institute (ICPI), 63% of path failures stem from inadequate base preparation—not the surface material itself. Yet most tutorials skip straight to “lay your stones!” without discussing gravel compaction or edging.
Optimist You: “This time, I’ll do it right!”
Grumpy You: “Only if I don’t have to haul another 40 bags of gravel uphill in 90°F heat.”
Landscaping Supply Garden Path How To: Step-by-Step Installation Guide
Forget vague advice like “dig a trench.” Here’s the exact method I’ve used on 17 client projects—with zero callbacks for repairs.
What supplies do I actually need?
Don’t just grab whatever’s on sale. For a 3-ft wide x 20-ft long path:
- Edging: Metal or plastic landscape edging (10–15 ft sections)
- Base: 4–6 inches of 3/4″ minus crushed gravel (~1.5 cu yd)
- Leveling layer: 1 inch of coarse sand or stone dust
- Surface: Pavers, flagstone, or gravel (calculate: length × width ÷ coverage per unit)
- Geotextile fabric (not plastic!)
- Polymeric sand (for paver joints)
- Avoid “river rock” for walking surfaces. Smooth stones shift underfoot. Use angular gravel (like decomposed granite) that locks together.
- Buy extra material. Order 10–15% more pavers/stones. Breakage happens, and matching batches later is near impossible.
- Test paver absorbency. Pour water on a sample. If it soaks in >10 seconds, it’s not sealed properly for freeze zones.
- Edge with steel, not plastic. Plastic buckles in sun; steel stays rigid for 10+ years.
- Seal natural stone. Unsealed bluestone or limestone stains from leaf tannins and rust. Use a silane/siloxane sealer (e.g., Miracle Sealants 511).
- Material: Thermally broken basalt flagstone (non-slip, freeze-resistant)
- Base: 6″ crushed gravel + 1″ stone dust
- Spacing: 2–3″ gaps filled with creeping thyme (soft underfoot, drought-tolerant)
- Total cost: $620 for 25 linear feet (including labor)
Step 1: Map & Excavate (With Precision)
Mark your path with stakes and mason’s line. Dig 8 inches deep (6″ base + 2″ surface). Slope away from your house at 1/4″ per foot for drainage.
Step 2: Lay Fabric & Compact Base
Roll out geotextile fabric. Add 2″ of gravel, soak with water, and compact with a plate tamper (rent one—it’s worth it). Repeat until you hit 6″.
Step 3: Install Edging
Secure metal edging with spikes every 2 ft. This prevents lateral spreading—especially critical for gravel paths.
Step 4: Set Your Surface
For pavers: screed sand with a level board, place stones, then sweep polymeric sand into joints and mist with water.
For gravel: rake evenly and lightly spray with water to settle.
Confessional Fail: I once skipped edging on a gravel path “to save time.” Two weeks later, my dog had scattered it across the lawn like confetti. Never again.
5 Pro Tips for Choosing & Installing Long-Lasting Path Supplies
These aren’t Pinterest fluff—they’re field-tested truths:
Terrible Tip Disclaimer: “Just lay pavers on dirt!” Nope. I’ve pulled up dozens of sunken, wobbly paths installed this way. The base is everything.
Real Case Study: From Mud Pit to Moss-Cushioned Stone Path
Last spring, a client in Portland, OR (Zone 8b, 45″ annual rainfall) asked me to fix her backyard path. Previous attempts: wood chips (rotted in 6 months) and loose slate (slippery when wet).
Our solution:
One year later? Zero settling, no weeds, and the thyme released a lemony scent when stepped on. The secret wasn’t expensive stone—it was proper drainage and using gap plants instead of joint sand.
Rant Section: Why do big-box stores sell “garden path kits” with 1/2″ base gravel?! That stuff won’t compact. It’s like building a house on bubble wrap. Demand better.
FAQs About Landscaping Supply Garden Path How To
How much does landscaping supply for a garden path cost?
DIY costs range from $3–$12/sq ft. Gravel is cheapest ($3–$5); natural stone is pricier ($8–$12). Labor adds $5–$10/sq ft if hired.
Can I use old bricks or recycled materials?
Yes—if they’re intact and uniform in thickness. Avoid bricks with white efflorescence (salt deposits)—they indicate moisture damage.
How do I stop weeds in gravel paths?
Use geotextile fabric UNDER the gravel, not on top. Then apply pre-emergent herbicide (like corn gluten meal) each spring.
Do I need permits for a garden path?
Usually not for paths under 30″ wide on private property. Check local codes—some HOAs restrict stone types or colors.
What’s the easiest path for beginners?
Stepping stones set in mulch. Minimal digging, forgiving layout, and under $100 for 15 ft. Just ensure stones are level and spaced 24″ apart (average stride).
Conclusion
Building a garden path isn’t about aesthetics alone—it’s functional craftsmanship. By choosing the right landscaping supply based on your soil, climate, and usage, and installing it with a proper base and drainage, your path will age gracefully, not crumble into regret.
Remember: Great paths start underground. Spend time on gravel compaction, invest in quality edging, and never—ever—skip the fabric. Your future self (and your ankles) will thank you.
Like a Tamagotchi, your garden path needs daily care—or at least seasonal check-ins. Sweep debris, re-level stones, and refresh joint sand yearly.
Garden Path Haiku:
Stone kissed by morning dew,
Weeds dare not rise through tight gravel—
Path holds steady, true.