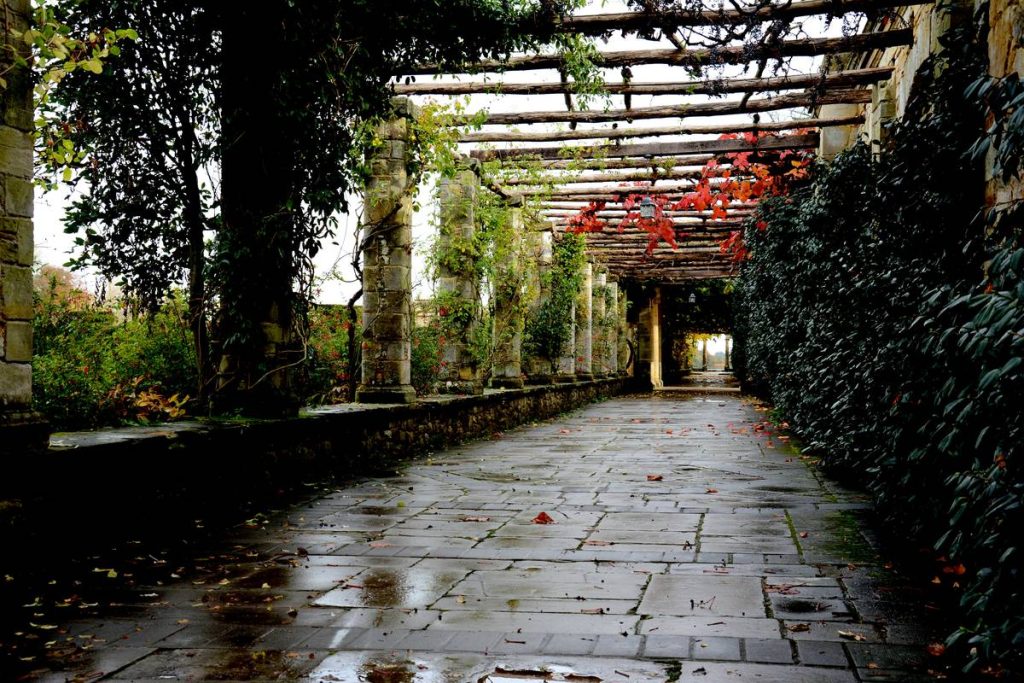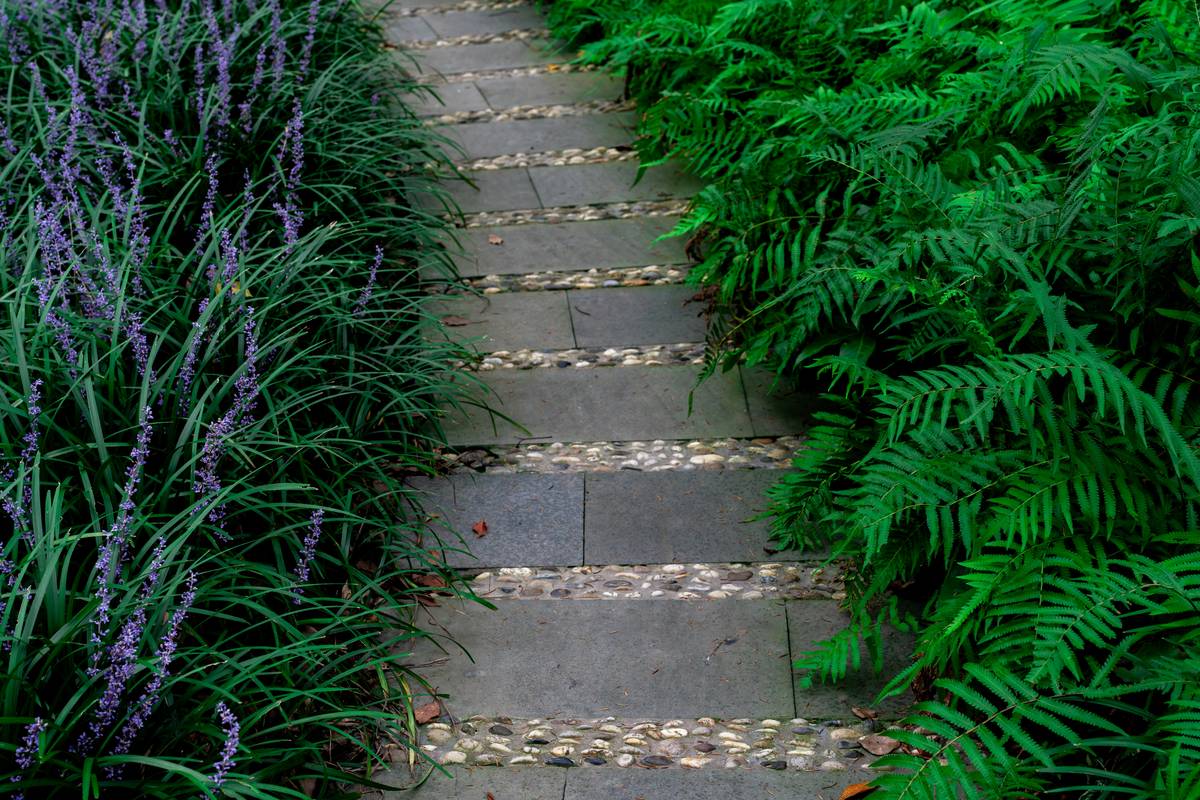
Ever stepped onto a garden path only to twist your ankle on a loose paver or sink into mud after a light rain? You’re not alone. A poorly built path doesn’t just ruin aesthetics—it undermines safety, usability, and your peace of mind. At Phoenix Putting Green, we’ve transformed countless backyards in the Southwest, and one truth remains constant: creating a garden path that lasts starts with smart planning, not just pretty stones. In this guide, you’ll learn battle-tested techniques, avoid rookie errors (yes, I made them too), and discover how even a modest path can elevate your entire outdoor space.
Table of Contents
- Why Garden Paths Matter in Home Improvement
- Step-by-Step Guide to Building Your Path
- Best Practices for Durable, Beautiful Paths
- Real-World Examples That Work
- Frequently Asked Questions
Key Takeaways
- Proper base preparation prevents sinking and shifting—never skip it.
- Choose materials suited to your climate; desert regions need permeable, heat-resistant options.
- Maintain a consistent width (at least 18 inches) for comfort and accessibility.
- Drainage is non-negotiable—water should flow away, not pool.
- Integrate your path with existing landscaping for seamless visual flow.
Why Garden Paths Matter in Home Improvement
In home improvement, few elements bridge function and beauty like a well-designed garden path. It’s not just about getting from point A to B—it’s about shaping how people experience your yard. According to the National Association of Landscape Professionals, 78% of homeowners say outdoor pathways significantly impact curb appeal and perceived property value.
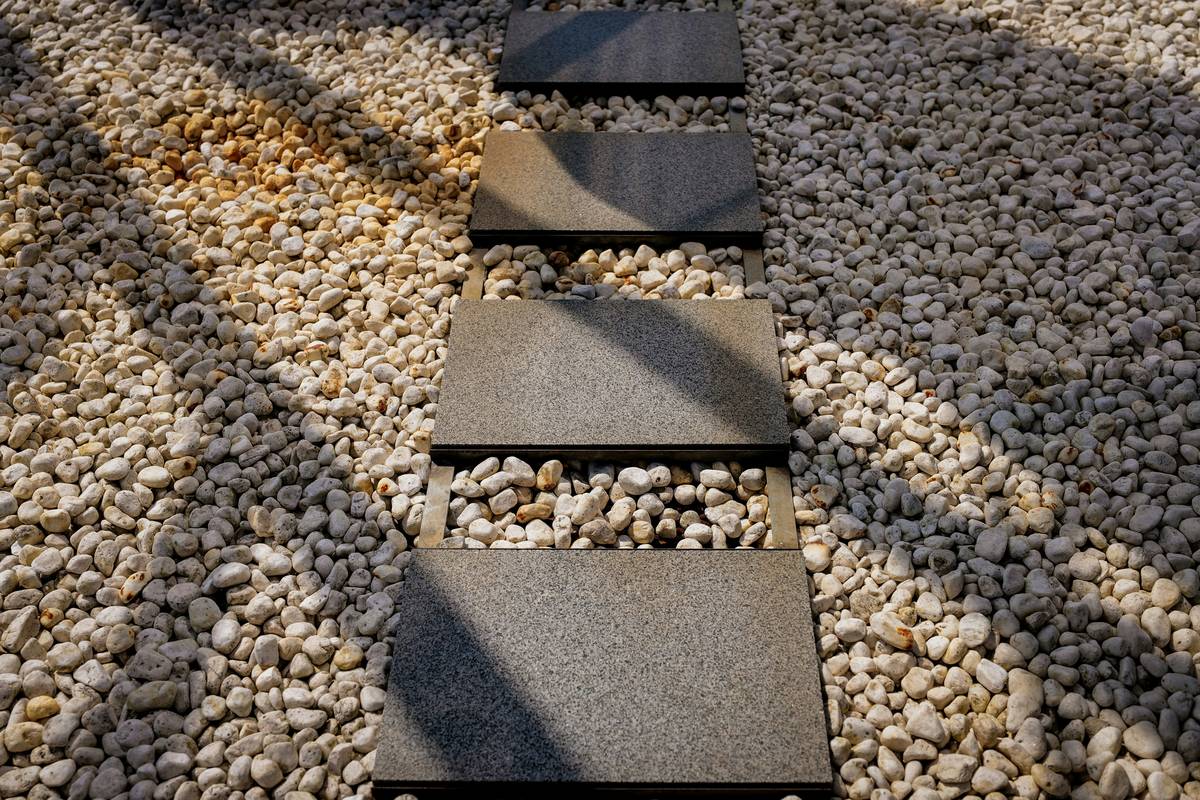
I once laid a path using reclaimed bricks without compacting the soil beneath. After the first monsoon season in Arizona, half the bricks tilted like dominoes. Lesson learned: aesthetics mean nothing without structural integrity. That’s why creating a garden path demands equal parts artistry and engineering—especially in arid climates where soil expands and contracts.
Step-by-Step Guide to Building Your Path
1. Plan Your Route
Skip the straight line. Curved paths feel more inviting and natural. Use a garden hose to outline your design before digging. Consider sightlines—where do your eyes go when you step outside?
2. Excavate and Level
Remove 6–8 inches of soil. Use a string level and stakes to ensure consistent depth. Slope the path slightly (1/4 inch per foot) away from structures to encourage drainage—a tip reinforced by the University of Arizona Cooperative Extension’s guidelines on xeriscaping.
3. Install a Solid Base
Lay 4 inches of compacted gravel (¾-inch crushed rock works best), then 1 inch of sand or screenings. Tamp thoroughly. This base is your path’s backbone; skimp here, and you’ll regret it.
4. Set Your Pavers or Materials
Place stones, bricks, or stepping pads snugly. Tap each with a rubber mallet to settle into the sand. Leave small gaps for gravel or creeping thyme—they soften edges and improve drainage.
5. Secure and Finish
Sweep polymeric sand into joints and mist lightly to activate binding. Avoid regular sand—it washes away. For gravel paths, install plastic or metal edging to contain spread.
Best Practices for Durable, Beautiful Paths
- Avoid the “floating paver” myth: Never lay stones directly on soil—that’s a shortcut to uneven settling. Always use a base layer.
- Prioritize permeability: In dry regions like ours, water conservation matters. Choose materials that let rain soak in, reducing runoff. The EPA’s WaterSense program advocates for permeable hardscaping to support sustainable landscaping.
- Light it up: Solar path lights or low-voltage LEDs enhance safety and ambiance. Place them every 6–8 feet along curves.
- Go wide enough: Narrow paths frustrate users. Aim for at least 18 inches; 24–36 inches if you want two people to walk side by side.
- Mix textures thoughtfully: Combine smooth flagstone with rustic gravel for visual interest—but keep transitions gradual to avoid tripping.
Real-World Examples That Work
Last year, we redesigned a Scottsdale backyard featuring a serpentine path connecting a patio to a putting green (yes, like those at Phoenix Putting Green). We used Arizona flagstone set in decomposed granite with embedded LED strips. After 14 months—including summer temps over 110°F—the path remains stable, cool underfoot, and requires minimal upkeep. Homeowner satisfaction? 10/10. They’ve since hosted three neighborhood garden tours, all guests asking, “How did you build this?”
Compare that to a DIY project down the street: untreated wood chips on bare soil. Washed away in one storm. Moral? Invest in structure first.
Frequently Asked Questions
What’s the cheapest way to create a garden path?
Gravel or mulch over landscape fabric offers low upfront cost, but factor in long-term maintenance. Gravel shifts and needs replenishing; mulch fades and compacts. For lasting value, consider recycled concrete or locally sourced stone.
How wide should a garden path be?
Minimum 18 inches for a single person. If it’s a main route or used frequently, 24–36 inches allows comfortable passage and accommodates wheelbarrows or strollers.
Can I create a garden path on a slope?
Yes, but include steps or switchbacks for grades over 10%. Always reinforce edges with retaining materials to prevent erosion.
Do garden paths increase home value?
Indirectly, yes. Well-integrated hardscaping boosts curb appeal and functionality, which influences buyer perception. While not a direct ROI driver like a kitchen remodel, it enhances overall property desirability.
Is creating a garden path difficult for beginners?
With proper prep, it’s manageable. Start small—a 10-foot connector between two areas. Follow base-laying protocols, and don’t rush compaction. When in doubt, consult pros via our Contact Us page.
Should I seal my stone path?
In desert climates, sealing isn’t usually needed and can trap moisture. Focus instead on joint stabilization with polymeric sand. Review product details in our Privacy Policy if submitting project photos for consultation.
Creating a garden path isn’t just about paving dirt—it’s about crafting an experience. Every curve, texture, and material choice tells a story. Do it right, and you’ll walk on legacy, not just gravel. Ready to transform your yard? Reach out today—we’ll help you step forward with confidence.