Ever spent an entire weekend laying what you thought was a dreamy garden path—only to watch it crumble into mud puddles after the first spring rain? Yeah. We’ve been there. And not just once. I once used cheap, ungraded gravel on a slope thinking, “It’s just a little foot traffic!” Spoiler: It vanished faster than my motivation on laundry day.
If you’re eyeing your backyard wondering how to craft a landscaping garden path that’s both stunning and structurally sound, you’re in the right place. In this guide, you’ll learn how to choose materials that last, design for drainage (not drama), and avoid rookie mistakes that send DIYers back to square one. Plus—we’ll unpack real-world examples, cost breakdowns, and pro tricks most blogs won’t tell you.
Table of Contents
- Why Your Garden Path Matters More Than You Think
- Step-by-Step: Building Your Landscaping Garden Path
- 7 Best Practices for a Path That Ages Gracefully
- Real Garden Path Transformations (With Lessons Learned)
- FAQs About Landscaping Garden Paths
Key Takeaways
- A well-designed landscaping garden path improves accessibility, drainage, and property value.
- Slope, soil type, and climate dictate material choice—gravel isn’t universal.
- Always install a compacted base (4–6 inches minimum) to prevent sinking and erosion.
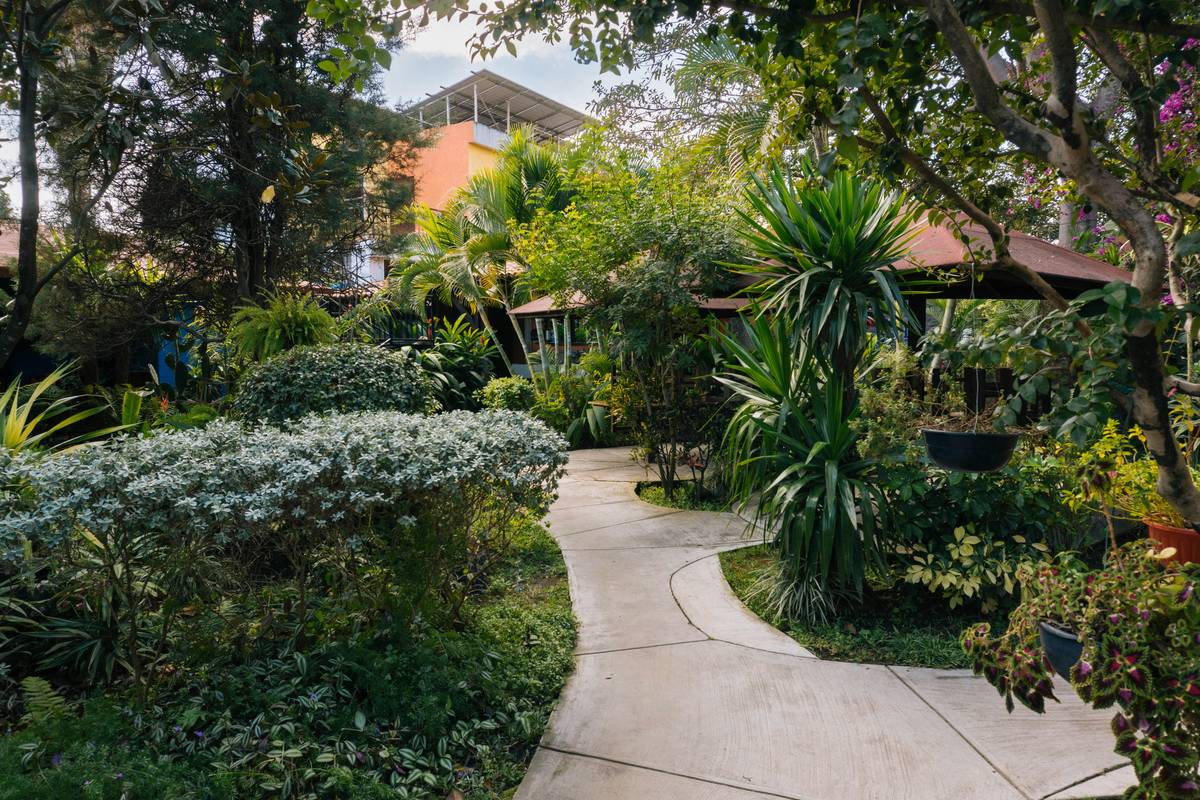
- Natural curves beat rigid straight lines for both aesthetics and water flow.
- Ongoing maintenance is non-negotiable—especially for organic materials like wood chips.
Why Your Garden Path Matters More Than You Think
Your garden path isn’t just a “nice-to-have” decorative strip. It’s functional infrastructure. According to the National Association of Landscape Professionals (NALP), homes with thoughtfully landscaped walkways see up to a 12% increase in perceived property value. But more importantly—they solve real problems: muddy shoes, trampled flower beds, and confusing circulation in your outdoor space.
I learned this the hard way when redesigning my own cottage garden in Zone 6b. I’d planted delicate lavender along a high-traffic route between the patio and compost bin. Within weeks, half the plants were flattened. A proper path would’ve saved $200 in replacement plants—and my sanity.
Step-by-Step: Building Your Landscaping Garden Path
How do I start planning my garden path layout?
First, walk your yard at different times of day. Notice where you naturally tread—those are your desire lines. Mark them with flour or spray paint. Then ask: Is this path for wheelbarrows or just bare feet? A utility path needs 36″ width; a meandering stroll path can be as narrow as 18″.
What’s the #1 mistake people make with base prep?
Skipping it entirely. Or worse—using topsoil as a base. Yikes. Your path needs a compacted sub-base of crushed stone (like ¾” minus gravel) at 4–6 inches deep. Use a hand tamper or plate compactor (rent one for ~$50/day). This prevents shifting, pooling, and the dreaded “wavy walkway” effect.
Which materials actually hold up over time?
Depends on your climate and use case:
- Flagstone or pavers: Ideal for high-traffic zones. Last decades if installed correctly. (Cost: $8–$20/sq. ft.)
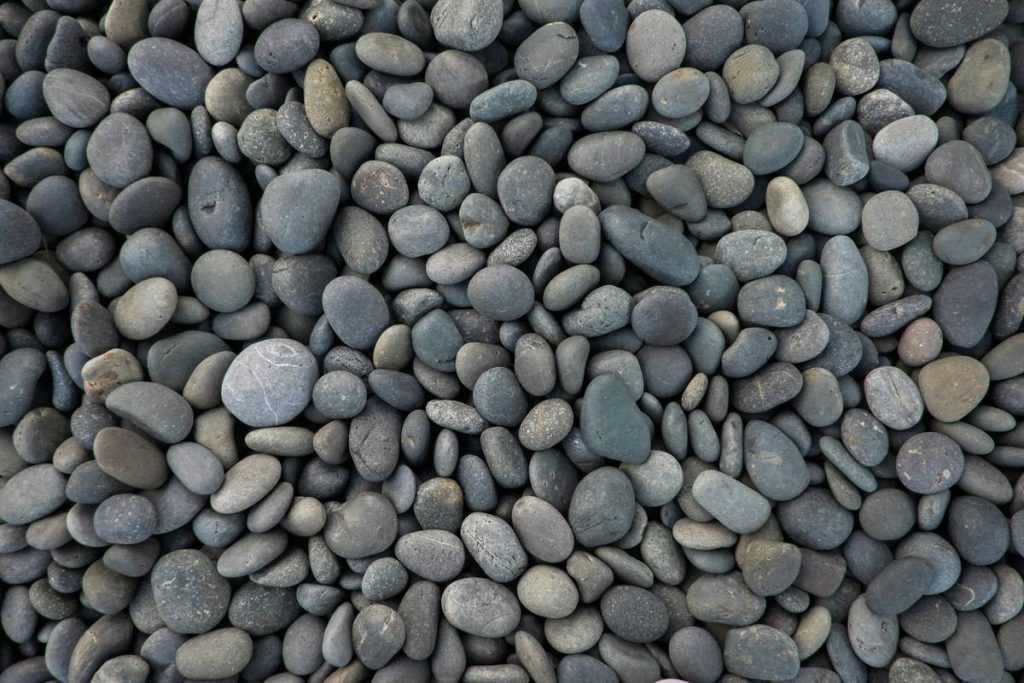
- Pea gravel: Budget-friendly but migrates without edging. Needs re-raking twice a year.
- Decomposed granite (DG):** Stabilized DG with resin binder resists washout. Used in public parks for a reason.
- Wood rounds or decking: Great for woodland gardens—but treat with eco-sealants to prevent rot.
7 Best Practices for a Path That Ages Gracefully
Optimist You: “Follow these tips and your path will look magazine-ready for years!”
Grumpy You: “Ugh, fine—but only if coffee’s involved and nobody asks me to haul more gravel.”
- Grade for drainage: Slope your path 1–2% away from your home (¼” per foot) to avoid basement leaks.
- Install edging: Steel, plastic, or stone borders keep gravel from spilling onto lawns.
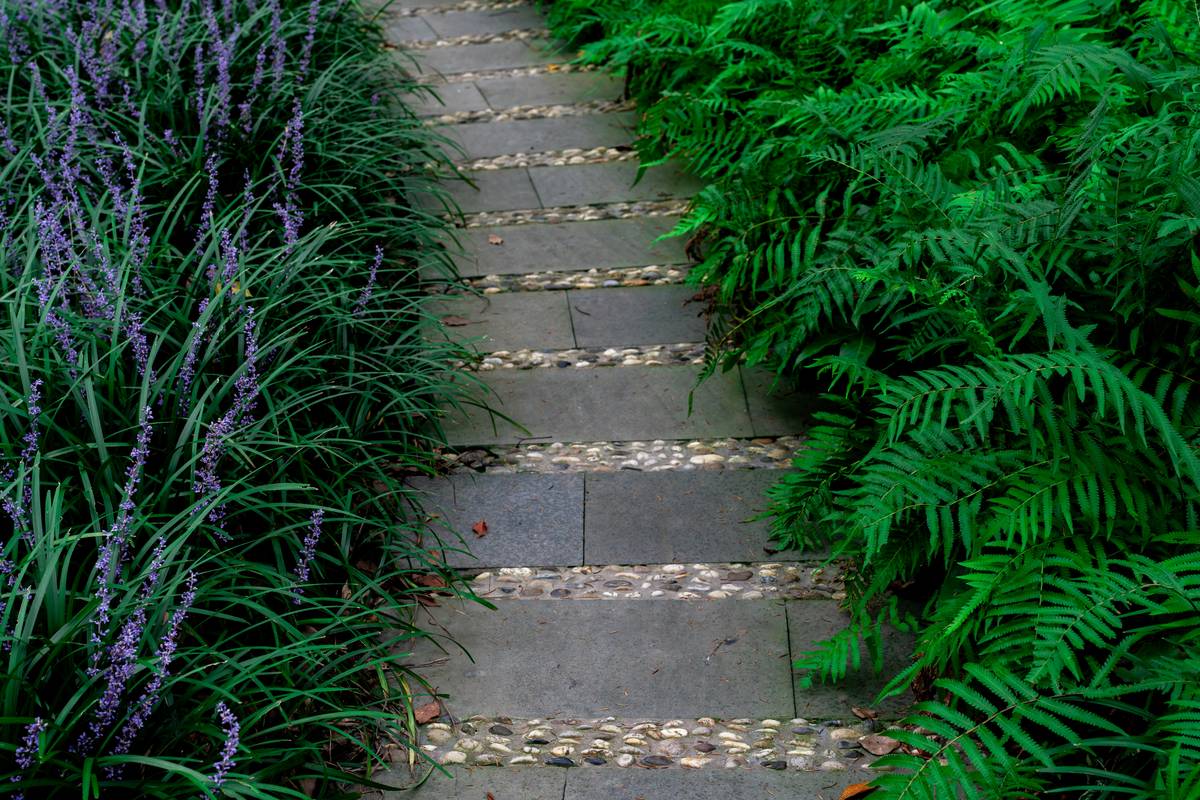
- Mix textures: Combine smooth stepping stones with moss or thyme between gaps for softness underfoot.
- Light it right: Solar path lights every 6–8 feet improve safety and ambiance.
- Avoid impervious surfaces: Concrete or asphalt paths increase runoff. Opt for permeable options when possible (EPA recommends this for sustainable landscaping).
- Plan expansion joints: In freeze-thaw zones, leave ½” gaps between pavers filled with polymeric sand.
- Maintain annually: Re-level settling stones, refresh mulch paths, and clear debris from joints.
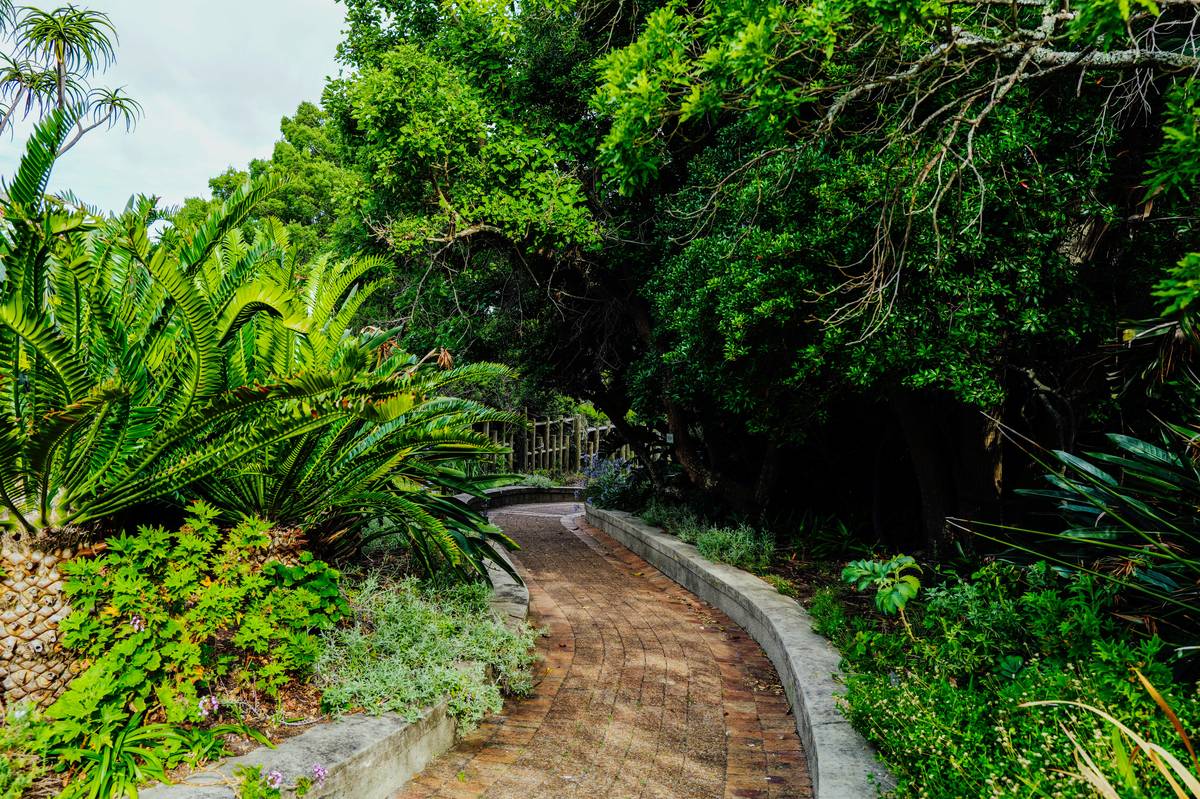
Real Garden Path Transformations (With Lessons Learned)
Case Study 1: Seattle Courtyard Revamp
A client in Seattle (Zone 8b, 37″ annual rainfall) replaced a washed-out bark path with stabilized decomposed granite bordered by corten steel. After 3 years? Zero erosion. The secret? A 6″ road base + geotextile fabric underneath. Cost: $1,200 for a 20’ x 3’ path.
Case Study 2: Midwest Vegetable Garden Route
In Illinois (clay soil, harsh winters), a raised brick path with open joints allowed frost heave without cracking. They planted creeping thyme in gaps—fragrant, drought-tolerant, and pollinator-friendly. Bonus: Thyme masks mud splatter on veggies.
These aren’t Pinterest fantasies. They’re tested, climate-responsive solutions from real yards—not staged photo shoots.
FAQs About Landscaping Garden Paths
How wide should a landscaping garden path be?
Minimum 18″ for single-file walking. For two people or wheelbarrow access, aim for 36″. Public pathways follow ADA guidelines (minimum 36″), but residential paths can be narrower if purely decorative.
Can I install a garden path over grass?
Technically yes—but don’t skip removing sod and adding base layers. Laying pavers directly on turf leads to sinking and weed invasion within months.
What’s the cheapest landscaping garden path option?
Local crushed gravel ($30–$50/ton) with DIY edging (recycled bricks or logs). But factor in long-term maintenance—cheap upfront ≠ cheap forever.
Do garden paths increase home value?
Yes—when done well. A study by Virginia Tech found that cohesive landscape design (including hardscaping like paths) can boost sale price by 5–12% compared to basic lawns.
How do I stop weeds from growing through my path?
Lay landscape fabric *under* your base layer, not between stones. Then fill joints with polymeric sand (for pavers) or use boiled linseed oil on wood chips to deter growth. Avoid chemical herbicides near edible gardens.
Conclusion
A landscaping garden path is far more than a visual accent—it’s the circulatory system of your outdoor space. Get it right, and you’ll enjoy safer footing, healthier plants, and a yard that feels intentional. Get it wrong, and you’ll be shoveling mud off your porch every April.
Remember: Start with your natural traffic patterns. Invest in proper base prep. Choose materials suited to your local rainfall, freeze cycles, and foot traffic. And never underestimate the power of a gentle curve—it’s easier on the eyes *and* the ecosystem.
Now go forth. Build wisely. And for the love of perennials—skip the unedged pea gravel on a slope.
Like a Tamagotchi, your garden path needs daily care—except instead of feeding it pixels, you’re raking gravel and whispering sweet nothings to creeping thyme.
Haiku break:
Stone path through morning dew,
Moss hugs each crack with quiet grace—
Rain bows, not ruts, remain.