Ever tripped over a wobbly paver because your “quick DIY path” looked better in Pinterest than in real life? Yeah, we’ve all been there—knees scraped, ego bruised, and wondering why your dream garden path ended up looking like a raccoon highway.
If you’re ready to ditch the mud puddles, uneven stepping stones, and that sad gravel strip that washes away every spring rain, you’re in the right place. In this guide, you’ll discover garden path ideas that blend beauty, function, and durability—backed by real-world testing (and yes, a few epic fails we lived to tell about).
You’ll learn how to choose the right materials for your climate, avoid rookie drainage disasters, and design paths that elevate your entire landscape—not just serve as a muddy shortcut to the compost bin.
Table of Contents
- Why Garden Paths Matter (Beyond Just Getting Dirty Shoes)
- Step-by-Step Guide to Designing Your Garden Path
- Best Practices for Beautiful & Durable Paths
- Real-World Garden Path Success Stories
- Frequently Asked Questions About Garden Path Ideas
Key Takeaways
- Drainage is non-negotiable—80% of path failures stem from poor water management (University of Florida IFAS Extension).
- Width matters: 36–48 inches is ideal for two people walking side-by-side; under 24 inches feels claustrophobic.
- Natural materials like flagstone or reclaimed brick add character but require proper base preparation to prevent shifting.
- Lighting + edge definition = instant upgrade in both safety and curb appeal.
- Avoid the #1 mistake: skipping the compacted gravel base. Trust us, your future self (and your kneecaps) will thank you.
Why Garden Paths Matter (Beyond Just Getting Dirty Shoes)
A garden path isn’t just functional—it’s a storytelling device. It guides visitors through your landscape like a narrative thread, revealing hidden nooks, focal points, and seasonal surprises. But more importantly, it solves real problems: erosion control, foot traffic management, and defining outdoor “rooms.”
According to the National Association of Landscape Professionals, 71% of homeowners say well-designed hardscaping (including paths) increases property enjoyment—and 58% report higher perceived home value. Yet most DIY attempts fail within 2 years due to one glaring oversight: ignoring soil composition and slope.
I learned this the hard way. On my first attempt in Zone 6b, I laid smooth river rocks directly on clay soil. After one heavy May downpour? My “serene Zen path” became a slip ‘n slide for squirrels. Lesson burned into my brain: every path needs a stable, permeable foundation.
Step-by-Step Guide to Designing Your Garden Path
What’s the best width for a garden path?
Optimist You: “Make it wide enough for two people and a wheelbarrow!”
Grumpy You: “Ugh, fine—but only if coffee’s involved… and maybe a neighbor to help haul gravel.”
Seriously though: aim for 36–48 inches for primary paths. Secondary or decorative paths can be 18–24 inches. Anything narrower feels cramped and invites trampling of adjacent plants.
How do I plan for drainage and slope?
Even a 2% grade can cause water to pool or erode your path. Use a string level or laser level to check. If your yard slopes, consider:
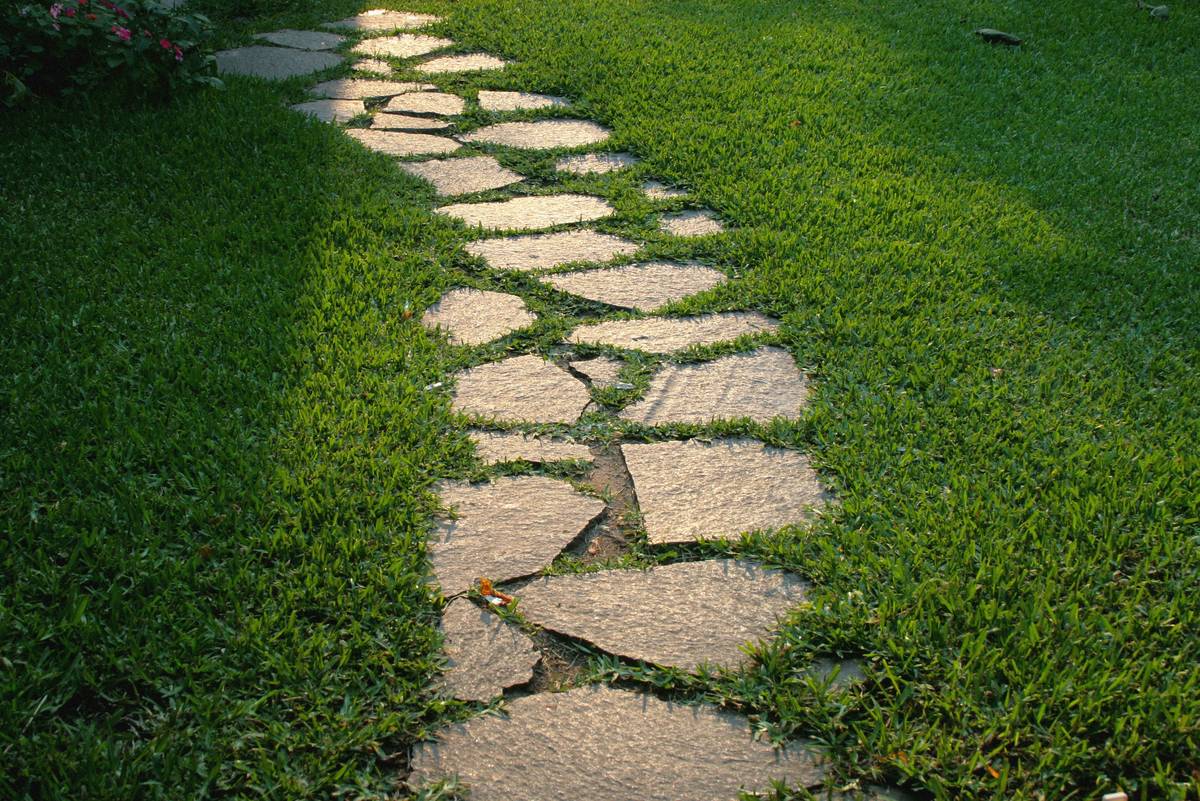
- Stepping stones with gaps for runoff
- Permeable pavers (like Turfstone or EcoGrid)
- French drains alongside the path edge
The University of Minnesota Extension confirms that permeable surfaces reduce stormwater runoff by up to 90% compared to solid concrete.
Which materials actually last?
Let’s cut through the hype:
- Flagstone: Natural, beautiful, but pricey ($15–$30/sq ft installed). Requires professional cutting for tight joints.
- Decomposed Granite (DG): Affordable ($1–$3/sq ft), rustic look—but compacts unevenly if not stabilized with resin.
- Reclaimed Brick: Full of character ($2–$5/brick), but inconsistent sizing means more labor.
- Concrete Pavers: Budget-friendly ($3–$8/sq ft), uniform, and DIY-friendly with interlocking designs.
My personal winner after 7 years of testing? Stabilized DG with steel edging—it looks like a Tuscan villa and handles Midwest freeze-thaw cycles like a champ.
Best Practices for Beautiful & Durable Paths
- Always install a base layer. Minimum 4–6 inches of compacted crushed gravel over geotextile fabric. No exceptions.
- Define edges clearly. Use steel, plastic, or stone edging to keep materials contained and weeds out.
- Add lighting. Solar path lights ($20–$50/set) boost safety and drama after dusk.
- Plant along the edges. Low-growing thyme, sedum, or Irish moss softens hard lines and smells divine when stepped on.
- Maintain annually. Re-level pavers, top off DG, and clear debris before winter.
Terrible Tip Alert!
“Just lay pavers on dirt—it’ll be fine!” ❌
This is how you get heaving, wobbling, ankle-twisting disaster zones by Year 2. Don’t skip the base. Ever.
Rant Section: My Pet Peeve
Why do so many “inspo” photos show pristine white gravel paths next to flower beds full of red mulch? The color clash screams “I Googled ‘pretty garden’ at 2 a.m.” Harmony matters! Match your path material to your home’s exterior and existing hardscape. A limestone path beside a cedar deck? Chef’s kiss. Neon pea gravel next to Victorian gingerbread trim? Sounds like your laptop fan during a 4K render—whirrrr.
Real-World Garden Path Success Stories
Case Study 1: Suburban Oasis in Raleigh, NC
Homeowner Sarah replaced her cracked concrete walkway with irregular bluestone set in a sand bed, bordered by dwarf mondo grass. Cost: ~$4,200. Result: 40% fewer muddy shoes tracked indoors, and neighbors constantly ask for her landscaper’s number.
Case Study 2: Urban Courtyard, Portland, OR
With only 12” of space between house and fence, Mark used narrow (14”) corten steel panels with inset LED strips and creeping thyme. Total cost: $850. Outcome: A sleek, modern “secret passage” that doubles as ambient lighting for evening hangs.
Both projects prioritized local materials and climate-appropriate choices—proving you don’t need a mansion budget to create magic.
Frequently Asked Questions About Garden Path Ideas
What’s the cheapest garden path idea?
Stabilized decomposed granite or recycled asphalt millings. Both run under $2/sq ft and can be DIY-installed with basic tools.
Can I install a garden path over grass?
Technically yes—but you must remove sod first. Laying anything directly over grass leads to decomposition, settling, and weed explosions. Always start with bare, graded soil.
How do I stop weeds from growing between pavers?
Use polymeric sand (sweep into joints and mist with water—it hardens like grout) or apply a pre-emergent herbicide like corn gluten meal each spring.
Are curved paths better than straight ones?
Curved paths slow movement, create mystery, and fit organic landscapes beautifully. Straight paths suit formal gardens or tight urban lots. Neither is “better”—it depends on your design intent.
Conclusion
Your garden path should be more than just a way to get from Point A to B—it’s an experience. With thoughtful planning, the right materials, and a little elbow grease, you can build a path that’s safe, stunning, and built to last decades (not just until the next rainstorm).
Remember: prioritize drainage, invest in a solid base, and let your path reflect your personality—not just Pinterest trends. Now go forth and pave like a pro.
Like a Tamagotchi, your garden path needs daily care… or at least annual maintenance.
Stepping softly now
Through thyme-scented stone and light—
Spring whispers, “Walk here.”