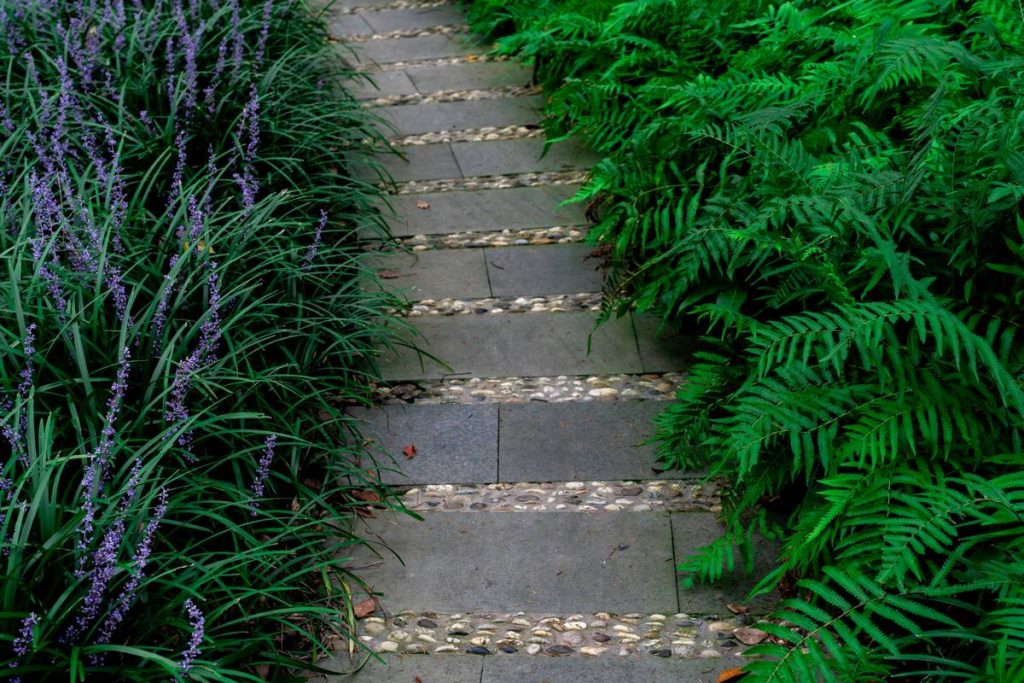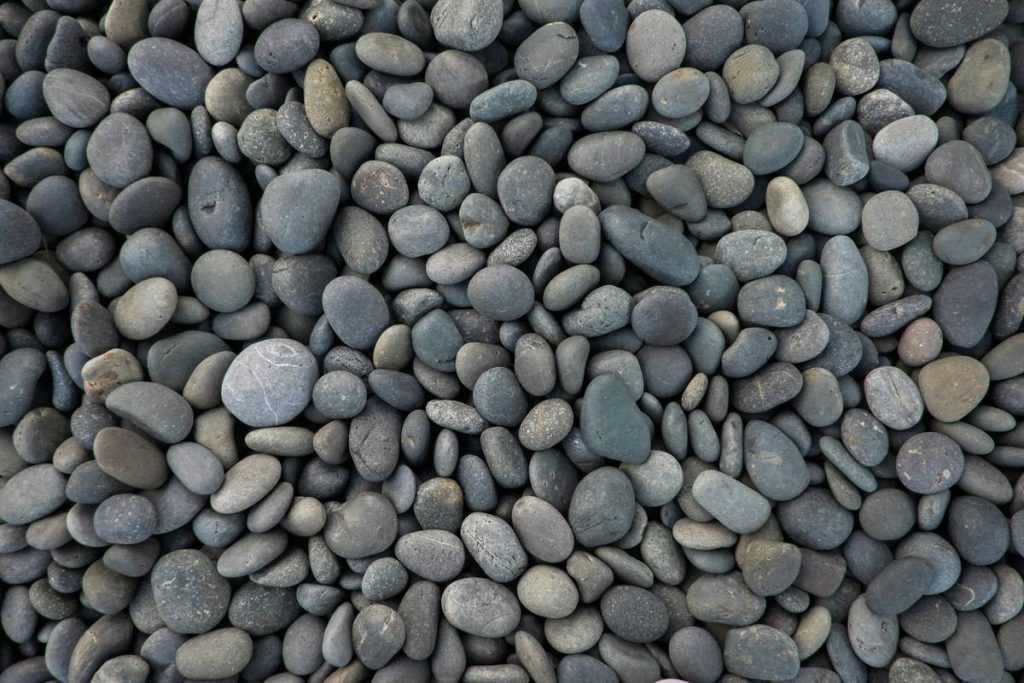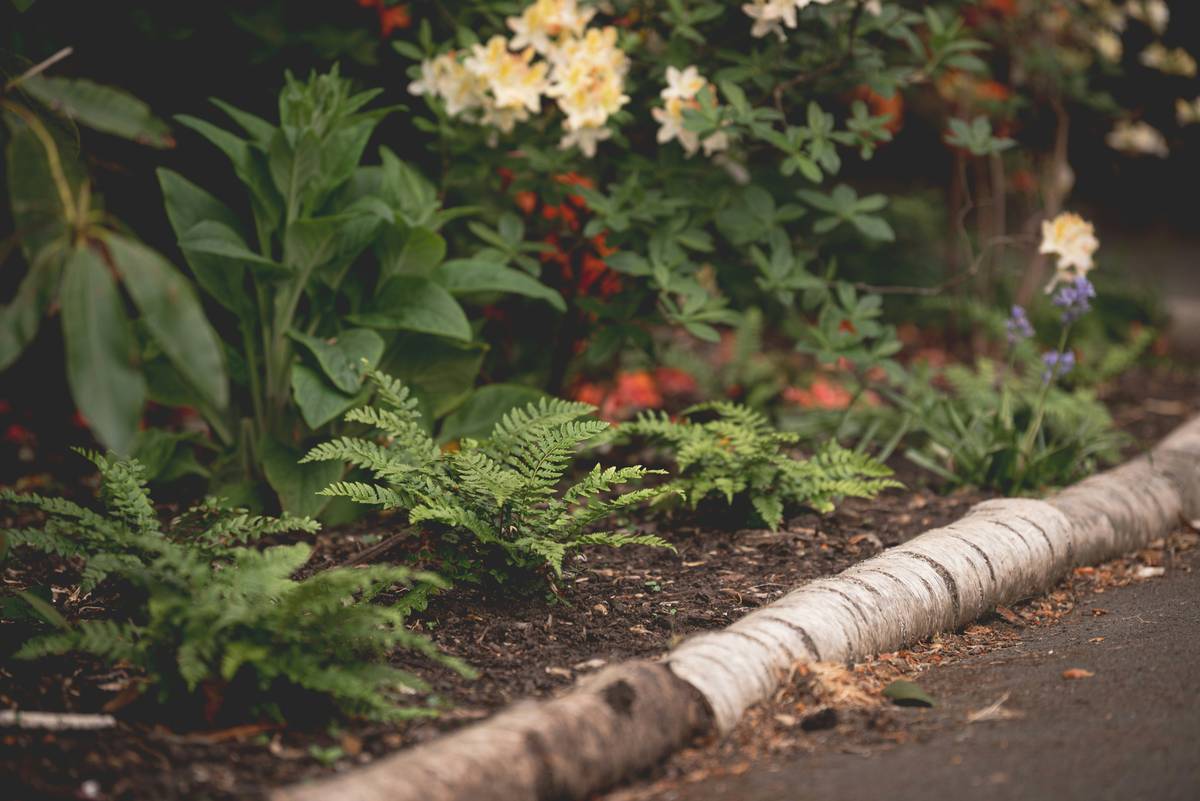
Ever spent a weekend laying a beautiful garden path only to watch it crumble into the lawn by Tuesday? You’re not alone. Poorly installed or absent edging for garden path is one of the most common—and preventable—landscaping blunders homeowners make. At Phoenix Putting Green, we’ve seen gravel scatter, pavers shift, and mulch vanish… all because someone skipped this crucial step. In this guide, we’ll walk you through everything you need to know to choose, install, and maintain durable, attractive edging that keeps your pathway looking sharp for years.
Table of Contents
- Why Edging Matters in Home Improvement
- Step-by-Step Installation Guide
- Best Practices & Pro Tips
- Real-World Examples That Work
- Frequently Asked Questions
Key Takeaways
- Proper edging for garden path prevents material migration, defines clean lines, and boosts curb appeal.
- Metal, stone, plastic, and wood each have distinct durability, cost, and aesthetic trade-offs.
- Depth matters: install edging at least 4–6 inches deep to resist frost heave and root pressure.
- Avoid the “floating edge” mistake—always anchor your border securely into the ground.
- Regular maintenance prevents long-term damage and extends your path’s lifespan.
Why Edging Matters in Home Improvement
In home improvement, garden paths aren’t just about function—they’re visual anchors that tie your outdoor space together. Without proper borders, even the most thoughtfully designed walkway quickly looks messy. Gravel spills onto lawns, mulch invades flower beds, and pavers tilt unevenly due to soil erosion.
I learned this the hard way. On my first DIY path project, I used flimsy plastic strips I found at a discount store. Within two monsoons, they’d warped, popped out of the ground, and left a jagged mess between my lavender and the stepping stones. It wasn’t just ugly—it became a tripping hazard. Never again.
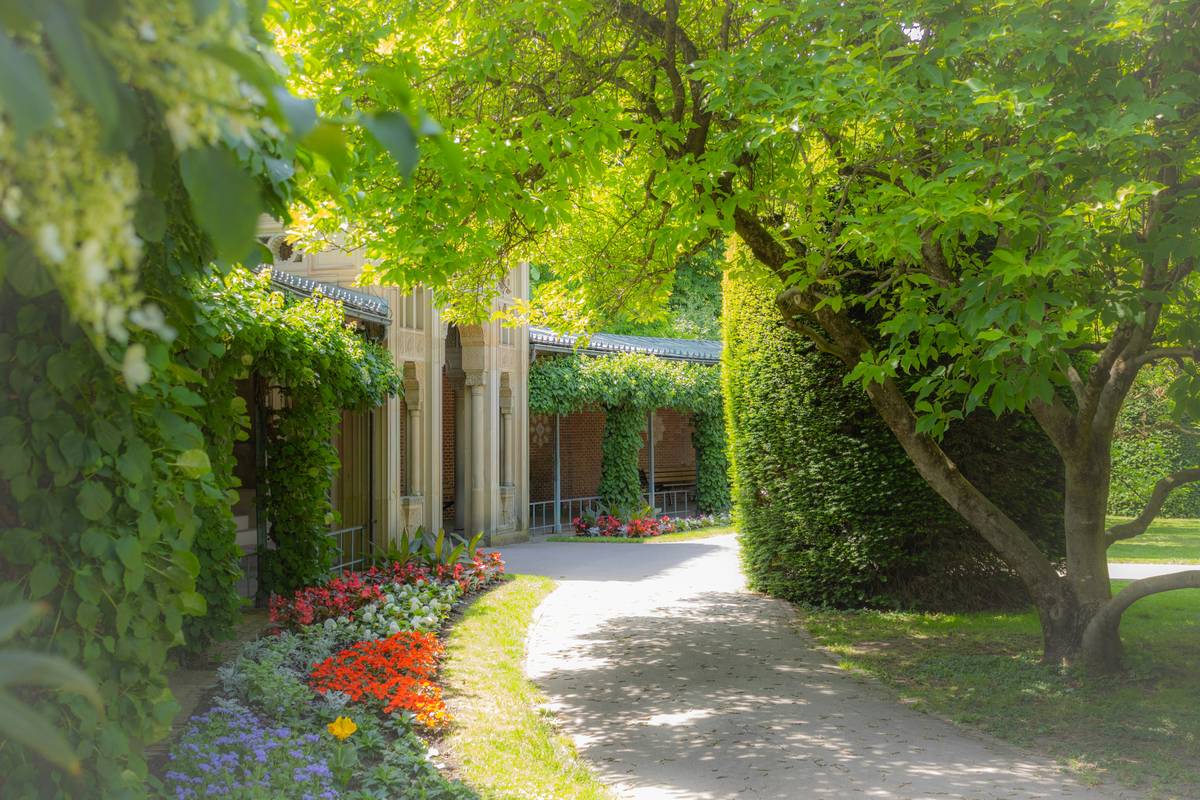
Step-by-Step Installation Guide
1. Plan Your Layout
Mark your path’s edges using string and stakes. Account for curves gently—sharp turns stress rigid materials like stone or concrete.
2. Dig a Trench
Excavate a trench 6–8 inches deep and 4–5 inches wide along both sides. Slope the bottom slightly outward to encourage water drainage away from the path.
3. Choose Your Material
Metal (aluminum or steel) offers sleek, modern lines and lasts 10–15 years. Stone or brick provides timeless charm but requires mortar for stability. Plastic is budget-friendly but prone to UV degradation over time.
4. Install and Anchor
Place your edging into the trench. For metal or plastic, drive stakes through pre-drilled holes every 18–24 inches. For stone, set units in a bed of compacted sand or mortar. Ensure the top sits flush with—or slightly above—your path surface to contain loose materials.
5. Backfill and Compact
Fill gaps with native soil or sand, then tamp firmly. Water lightly to settle the soil without washing it away.
Best Practices & Pro Tips
- Match material to climate: In freeze-thaw zones, flexible materials like rubber or composite handle expansion better than rigid stone (according to the University of Minnesota Extension).
- Extend beyond the path: Let edging protrude 1–2 inches past each end to prevent “escape routes” for gravel or mulch.
- Avoid the “terrible tip”: Don’t skip anchoring! Floating edging looks neat on day one but fails within months.
- Clean regularly: Blow debris off edges quarterly to prevent weeds from gaining foothold in gaps.
- Think long-term: Investing in quality edging for garden path now saves replacement costs later.
Real-World Examples That Work
A 2022 study by the National Association of Landscape Professionals found that properties with defined garden pathways saw up to a 7% increase in perceived value. One Phoenix homeowner replaced crumbling plastic borders with powder-coated steel edging around their flagstone path. After three monsoon seasons, the path remained intact while neighbors’ gravel spilled repeatedly onto sidewalks.
At Phoenix Putting Green, we use commercial-grade aluminum edging for all our synthetic turf installations—including integrated garden paths. Its durability against Arizona’s intense sun and occasional heavy rain proves why material choice directly impacts longevity. Learn more about our approach on our About Us page.
Frequently Asked Questions
What’s the most durable edging for a gravel garden path?
Steel or aluminum edging offers superior durability for gravel, resisting displacement and containing loose material effectively—even under foot traffic.
Can I install garden path edging myself?
Yes! Most DIYers can install plastic, metal, or composite edging in a weekend. Just ensure you dig deep enough and anchor properly. When in doubt, consult a pro via our Contact Us page.
How deep should garden path edging be buried?
Aim for 4–6 inches below grade. This depth counters frost heave in colder climates and root intrusion in warmer zones like ours here in Arizona.
Does edging improve drainage?
When installed correctly—sloped slightly outward—it directs water away from your path base, reducing puddling and soil saturation.
Is plastic edging worth using?
Only for temporary or low-traffic paths. Long-term, UV exposure makes it brittle. For lasting results, invest in metal or stone.
Where can I see examples of professional edging installations?
Browse our portfolio or reach out directly. We prioritize clean lines and functional design in every edging for garden path project we complete.
Your garden path deserves more than an afterthought. With the right edging for garden path, you protect your investment, enhance aesthetics, and eliminate constant maintenance headaches. Don’t let another season pass with borders that sag, scatter, or disappear. Ready to build a path that lasts? Contact us today for a consultation—and rest easy knowing your privacy is protected per our Privacy Policy.
Gravel stays put,
Lines stay crisp,
Your garden path? Pure bliss.