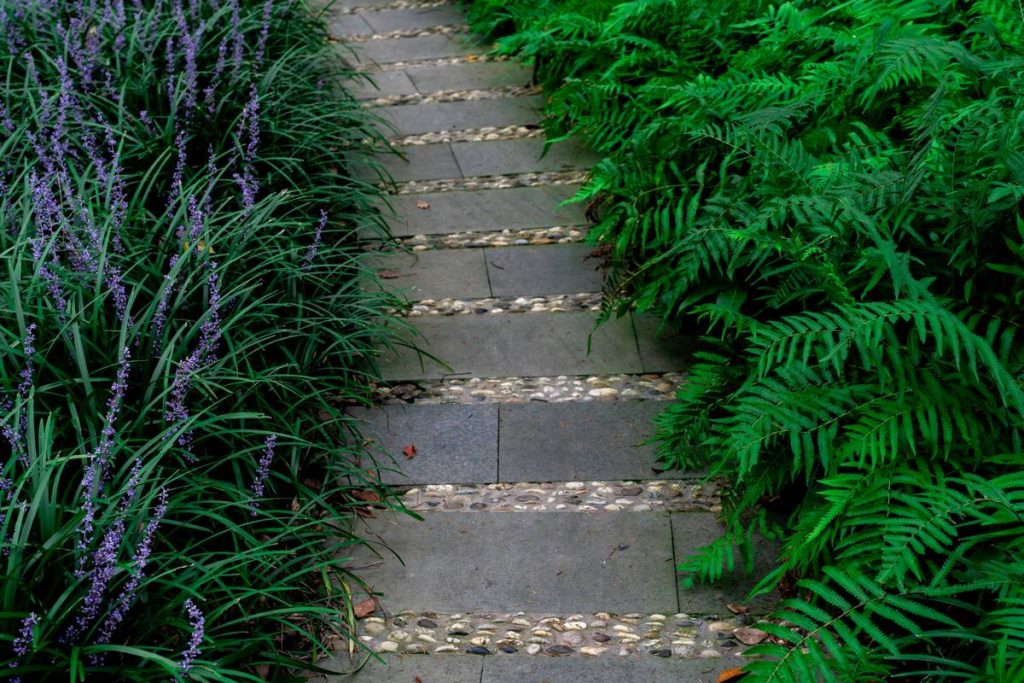
Ever watched someone in a wheelchair get stuck on a “charming” gravel path while you stood there helpless—awkwardly pretending to admire a lavender bush? Yeah. Me too. And that moment sparked my obsession: creating garden paths that don’t just look pretty but actually work for everyone.
If you’re here, you likely care about inclusive outdoor spaces—whether you’re retrofitting your own yard, designing for a family member, or building as a pro. This guide cuts through the fluff to deliver exactly what you need: practical, ADA-aligned advice grounded in real-world experience (including my own epic fails with decomposed granite). You’ll learn:
- Why standard garden paths often fail wheelchair users
- Step-by-step instructions to build a truly accessible route
- The best—and worst—materials for mobility, safety, and aesthetics
- Real-life examples from gardens that got it right
Table of Contents
- Why Accessibility Matters More Than Aesthetics Alone
- Step-by-Step Guide to Building Your Wheelchair-Friendly Garden Path
- Top 7 Best Practices for Safe, Stylish Accessible Paths
- Real Gardens That Nailed Inclusive Design
- FAQs: Your Burning Questions Answered
Key Takeaways
- A true garden path for wheelchair users must meet ADA slope (max 1:12) and width (min 36″) standards.
- Gravel, mulch, and stepping stones are almost always inaccessible—avoid them for primary routes.
- Poured concrete, stabilized pavers, and composite decking offer durability + universal access.
- Drainage, edge treatments, and lighting are non-negotiable for safety.
- Inclusive design doesn’t sacrifice beauty—it elevates it.
Why Accessibility Matters More Than Aesthetics Alone
Let’s be brutally honest: most “garden path” content online is written by people who’ve never pushed a wheelchair over uneven terrain. They rave about pea gravel’s rustic charm… until you mention how it swallows wheels like quicksand. According to the CDC, nearly 1 in 4 U.S. adults lives with a disability—and mobility limitations are among the most common. Yet, backyard accessibility remains an afterthought.
I learned this the hard way. Two summers ago, I designed a “zen” path using loose river rock for my aunt, who uses a manual wheelchair. She tried it once. Got stuck halfway. Required a neighbor with a truck to tow her out. (True story. Mortifying.) That failure taught me: accessibility isn’t optional—it’s foundational.
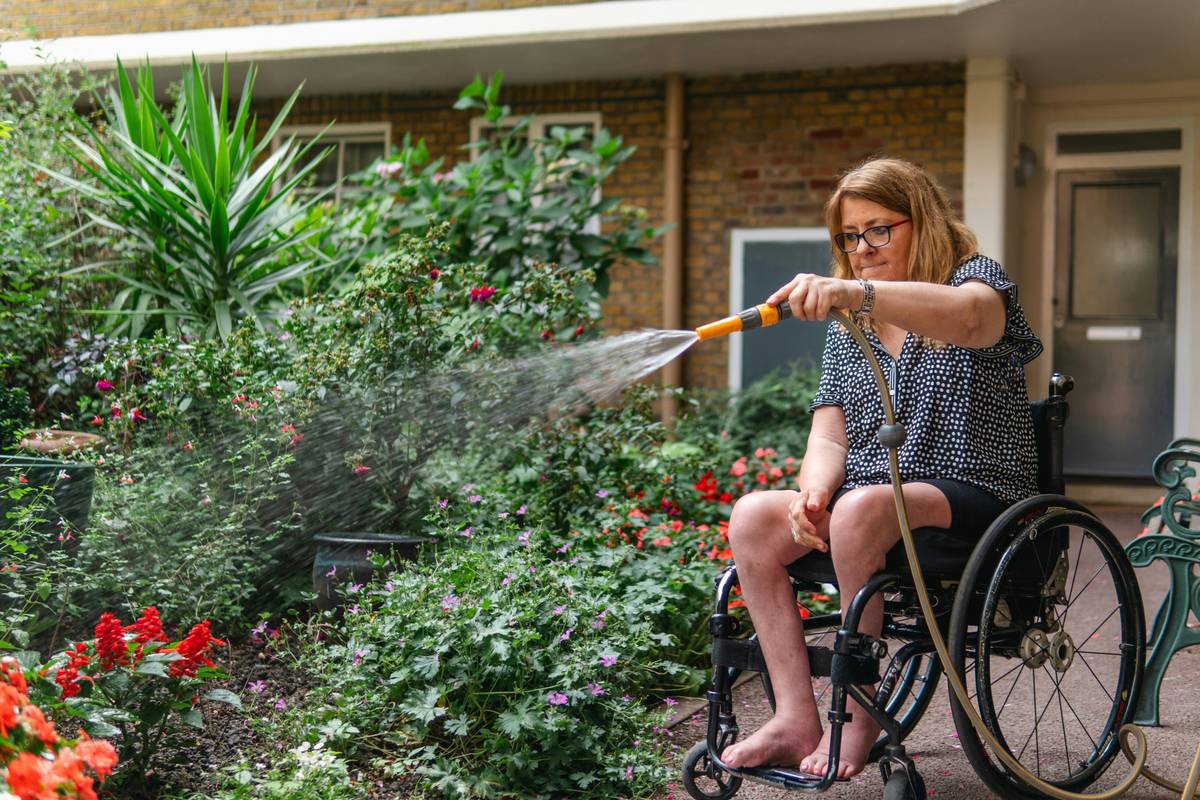
The Americans with Disabilities Act (ADA) sets clear technical guidelines for accessible routes—even in private residential settings if you’re aiming for universal usability. Key benchmarks include:
- Width: Minimum 36 inches (wider is better for turning radius)
- Slope: Maximum 1:12 gradient (1 inch rise per 12 inches run)
- Cross-slope: No more than 1:48 (prevents tipping)
- Surface: Firm, stable, slip-resistant when wet
Step-by-Step Guide to Building Your Wheelchair-Friendly Garden Path
How do I make sure my garden path works for wheelchairs?
Optimist You: “Follow these steps and create a path that’s both stunning and fully functional!”
Grumpy You: “Ugh, fine—but only if I can skip the part where I haul 50 bags of concrete alone.”
Step 1: Map Your Route & Check Grades
Use a digital level app (like Bubble Level on iOS/Android) or a traditional carpenter’s level with a 24-inch ruler. Measure every segment. If your yard has a steep drop, consider switchbacks or a ramp system—never exceed 1:12 slope.
Step 2: Choose an Accessible Surface Material
- Poured Concrete: Smooth, durable, customizable with stains or scoring. Ideal for long-term use.
- Interlocking Pavers (on Concrete Base): Must be set in sand over compacted gravel with a concrete sub-base to prevent shifting. Avoid sand-only beds—they settle unevenly.
- Composite Decking Boards: Great for raised paths or boardwalks over soft ground. Slip-resistant grooves are a must.
- Resin-Bound Gravel: *Only* if professionally installed with full binding. Looks like loose gravel but forms a solid, permeable surface.
Step 3: Install Proper Edging
No one talks about this, but unsecured edges = tripping hazards and wheel catch points. Use metal, concrete, or timber edging secured below grade. Bonus: it keeps grass from creeping over your beautiful path.
Step 4: Integrate Drainage & Lighting
Water pooling = slippery disaster. Grade path slightly (1–2%) toward lawn or install linear drains. Add low-voltage LED path lights (mounted low to avoid glare) for evening safety.
Top 7 Best Practices for Safe, Stylish Accessible Paths
What are the little details that make a huge difference?
- Go wider than 36 inches. Aim for 42–48″ to allow comfortable two-way traffic or caregiver assistance.
- Avoid thresholds. Transition strips between surfaces should be ≤¼” high. Bevel any lip.
- Add resting spots. Place benches every 150–200 feet along longer paths—not just for wheelchair users, but for everyone.
- Use color contrast. Light paths with dark borders (or vice versa) help those with low vision navigate safely.
- Maintain year-round. Clear snow promptly; apply non-corrosive ice melt (like calcium magnesium acetate).
- Skip the “natural look” traps. Stepping stones? Mulch trails? Save them for side beds—not main thoroughfares.
- Test before you finalize. Borrow a wheelchair or mobility scooter and push it yourself. Real feedback beats theoretical specs.
My Pet Peeve Rant:
“Accessible” gardens with one token ramp leading to a dead-end bench surrounded by thorny roses? Not accessibility—performative allyship. If you can’t loop back to the house or key areas (patio, shed, compost), you’ve built a scenic cul-de-sac, not a functional path.
Real Gardens That Nailed Inclusive Design
Can an accessible garden path still feel magical?
Absolutely. Take the Chicago Botanic Garden’s accessible trails: wide, smooth crushed limestone paths with sensory plantings at reachable heights. Or homeowner Maria T. in Portland, OR, who replaced her crumbling brick walkway with tinted concrete scored to mimic flagstone—complete with solar-powered bollard lights and a 5% slope compliant with ADA.
Her secret? She worked with a landscape architect certified in Universal Design (look for ASLA or CLARB credentials). Pro tip: many local municipalities offer free accessibility audits for residential properties—check yours!
FAQs: Your Burning Questions Answered
Is pea gravel okay for a garden path for wheelchair?
No. Loose materials like pea gravel, wood chips, or bark shift under wheels, causing slippage, tipping, or entrapment. Even “stabilized” versions often fail long-term unless professionally bound with resin.
How wide should a garden path be for a wheelchair?
Minimum 36 inches clear width, but 42–48 inches is ideal for comfort, turning, and accompaniment. Remember: doorways and gates must match this width.
What’s the cheapest wheelchair-accessible path material?
Properly poured concrete is surprisingly cost-effective long-term ($4–$8/sq ft installed). While pavers look premium, improper installation leads to costly repairs. Avoid false economies—accessibility isn’t the place to cut corners.
Do I need a permit?
For most residential paths under 30 inches high, no. But check local zoning laws—especially if altering drainage or near property lines.
Conclusion
A garden path for wheelchair users isn’t about sacrificing beauty for function—it’s about redefining beauty to include dignity, safety, and independence. Whether you’re starting from scratch or upgrading an existing route, prioritize firm surfaces, gentle slopes, and thoughtful details. Test it. Walk it. Push a chair down it. And remember: the most stunning garden is the one everyone can enjoy together.
Like a Tamagotchi, your accessible path needs daily care—clear leaves, fix cracks, keep it welcoming. Now go build something that matters.
Smooth stone,
Wheels roll free—
No one left behind.