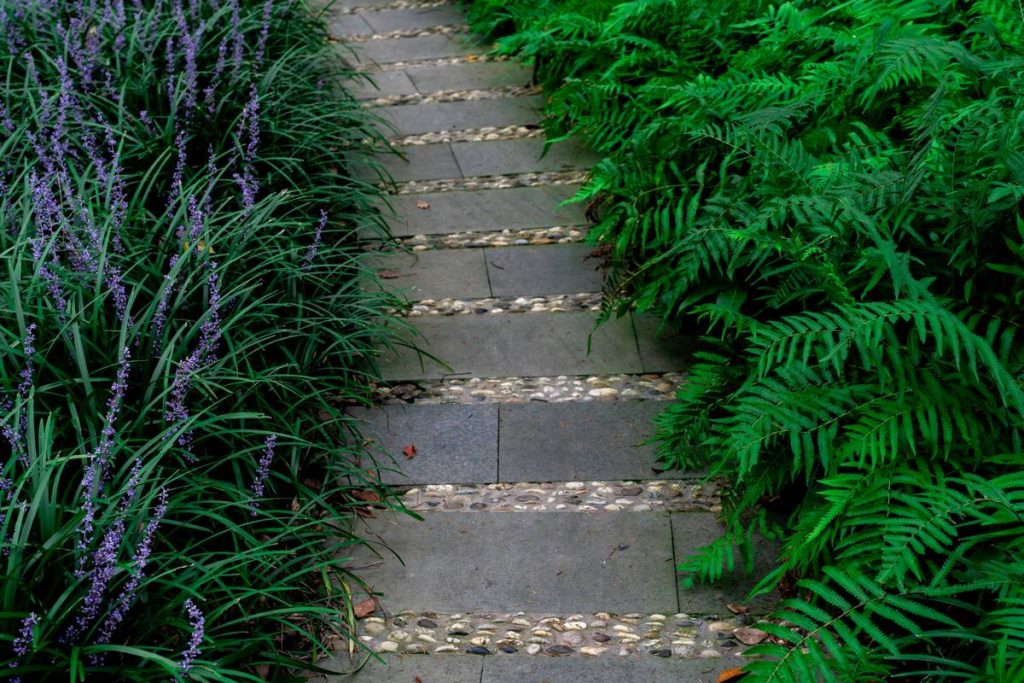
Your garden path looks messy. Grass creeps in. Mulch spills over. Rainwater pools at the edges. And no matter how neatly you lay pavers, it always feels… unfinished. That’s because most homeowners skip the one element that defines structure, function, and polish: path edging for gardens. It’s not just decorative—it’s the backbone of clean outdoor design.
Why Most Garden Paths Fail Within a Year
People treat paths like afterthoughts. They lay stepping stones on bare soil and call it done. Six months later? Weeds invade. Edges blur. The whole thing looks abandoned.
And here’s the kicker: even expensive paver installations crumble without proper restraint. Loose aggregate shifts. Soil erosion eats away at joints. Without rigid or semi-rigid containment, your investment literally washes away.
The core issue isn’t materials—it’s mindset. Path edging for gardens isn’t optional trim. It’s engineering. Ignore it, and nature reclaims your hard work faster than you think.
How to Install Durable, Attractive Path Edging—Step by Step
Choose the Right Material for Your Climate and Style
Not all edging is equal. Metal bends in freeze-thaw cycles. Plastic fades and snaps under UV stress. Stone lasts but costs more upfront. Match your choice to local conditions—not Pinterest trends.
Prep the Ground Like a Pro (This Is Where Amateurs Cut Corners)
Dig a trench 4–6 inches deep along both sides of your path. Compact the base. Slope it slightly outward so water drains away—not toward your lawn or flower beds. Skipping compaction? That’s why your neighbor’s plastic edging popped up like toast last spring.
Secure It Permanently—No “Temporary” Fixes
Use landscape spikes every 12–18 inches. For metal or aluminum edging, overlap seams by at least 2 inches and anchor both pieces. Loose ends = future gaps = weed highways.
| Edging Type | Average Cost per Linear Foot | Lifespan (Years) | BEST For |
|---|---|---|---|
| Steel or Aluminum | $3.50–$7.00 | 15–25+ | Modern gardens, curved paths, low-maintenance zones |
| Concrete or Stone | $8.00–$15.00 | 20–40+ | Traditional landscapes, high-traffic areas, curb appeal |
| Plastic or Composite | $1.50–$3.00 | 3–7 | Rental properties, temporary installs, budget trials |
| Brick or Paver Bond Beam | $6.00–$12.00 | 10–20 | Cottage gardens, integrated hardscape designs |

The Industry Secret: “Floating Edging” Beats Rigid Borders in 80% of Suburban Yards
Here’s what landscapers won’t tell you: ultra-rigid borders crack driveways and sidewalks when ground shifts. Instead, top designers now use what’s called “floating edging”—flexible metal or segmented stone set just below grade, allowing slight movement without breaking.
It handles Arizona’s monsoon swells and Midwest frost heaves better than poured concrete curbs. Plus, it’s invisible from a distance—clean lines without visual clutter. The math is simple: spend 10% more on smart edging now, avoid $1,200 in path reconstruction later.
Frequently Asked Questions
What’s the cheapest way to edge a garden path?
Recycled brick or salvaged pavers laid on sand work short-term. But for true durability under $3/ft, flexible aluminum edging offers best long-term value—especially on uneven terrain.
Can I install path edging myself?
Absolutely. With a shovel, level, rubber mallet, and 2 hours per 20 linear feet, most DIYers nail it. Just don’t skip trench compaction—that’s the #1 rookie mistake.
Does path edging stop weeds?
Not alone. But combined with landscape fabric and proper grading, quality path edging for gardens blocks lateral root invasion from lawns—cutting weeding time by 60% or more.