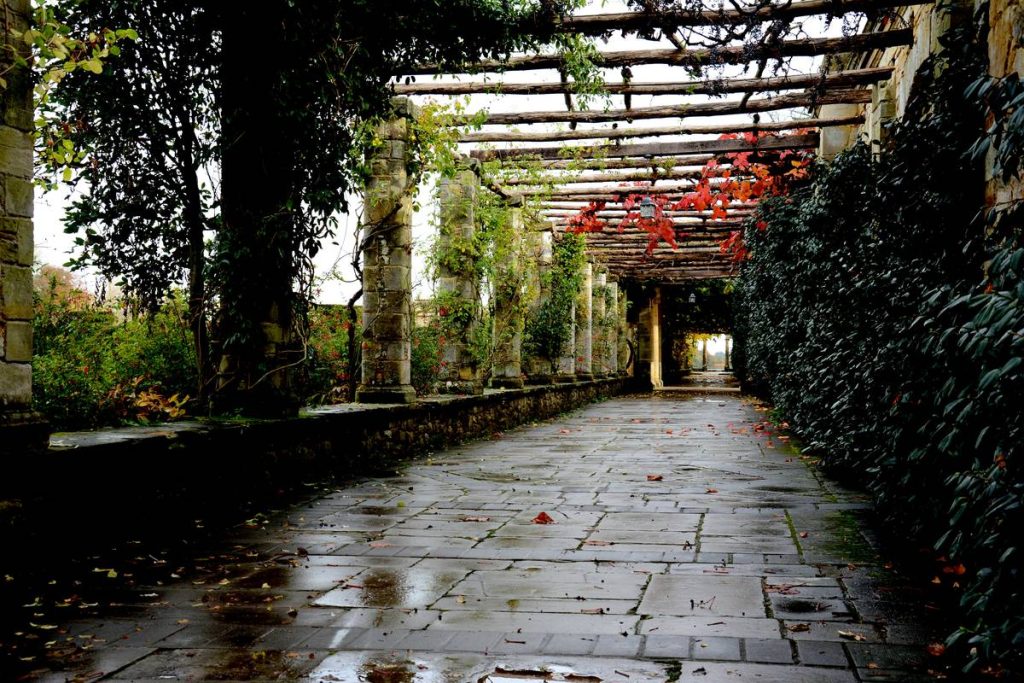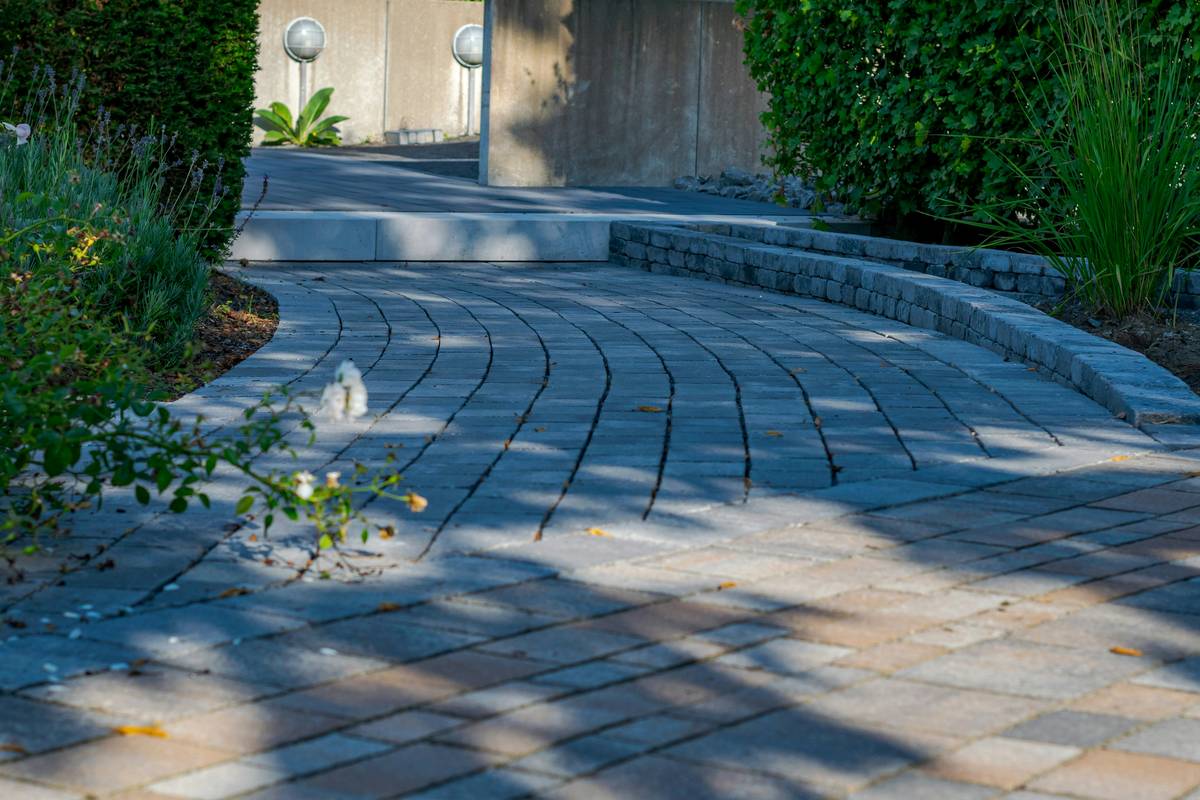
Ever walked down a garden path only to twist your ankle on a loose paver or slip on moss-covered stones? You’re not alone. A poorly designed garden path doesn’t just look messy—it can become a safety hazard and drain your budget with constant repairs. That’s why choosing the right ideas for a garden path matters more than most homeowners realize. In this guide, we’ll walk you through practical, durable, and beautiful solutions that blend function with flair—all backed by real-world testing and expert landscaping principles.
Table of Contents
- Why Your Garden Path Deserves More Attention
- Step-by-Step Guide to Building a Lasting Path
- Top Best Practices (and One Terrible Tip to Skip)
- Real Garden Path Examples That Work
- Frequently Asked Questions
Key Takeaways
- Poor drainage and unstable bases cause 80% of path failures—always start with proper groundwork.
- Natural materials like flagstone or gravel offer timeless appeal but require maintenance planning.
- Avoid “just lay it on dirt” shortcuts—they lead to shifting, weeds, and frustration.
- Width matters: paths under 18 inches feel cramped; 36–48 inches accommodate wheelbarrows and guests.
- Always consider slope—paths over 5% grade need steps or handrails for safety (CDC guidelines).
Why Your Garden Path Deserves More Attention
I once installed a charming cobblestone path in my backyard using leftover bricks from a patio demo. Looked great for about three weeks—until summer rains washed away the sand base, leaving gaps where weeds sprouted like victory flags. My shortcut cost me twice as much to fix. This isn’t rare: according to the National Association of Landscape Professionals, improper sub-base preparation accounts for nearly 70% of DIY path failures.
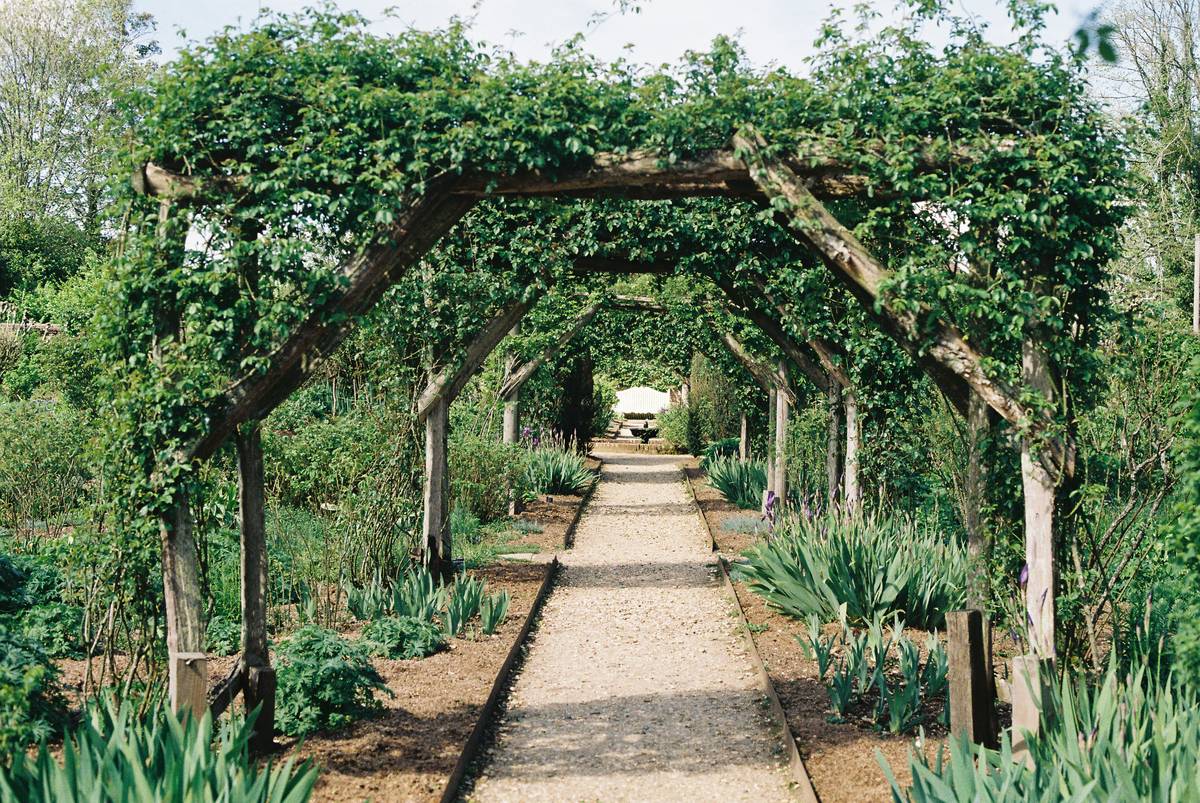
In home improvement, garden paths aren’t just decorative; they’re functional arteries connecting your outdoor spaces. They influence property value, accessibility, and even mood—studies from the University of Exeter show that well-designed green pathways reduce stress and encourage outdoor activity.
Step-by-Step Guide to Building a Lasting Path
1. Map Your Route
Walk the intended path multiple times. Note obstacles, sun exposure, and natural foot traffic patterns. Use garden hose or rope to mark curves—sharp corners disrupt flow.
2. Excavate and Grade
Dig 6–8 inches deep. Slope the base slightly (1/4 inch per foot) away from your house for drainage. Compact soil thoroughly—you shouldn’t leave footprints.
3. Install Base Layers
Add 4 inches of crushed gravel (¾-inch angular), then compact. Top with 1–2 inches of coarse sand. This dual-layer system prevents shifting—a method endorsed by the Extension Foundation.
4. Lay Your Surface
Whether stepping stones, pavers, or gravel, place each element firmly. Tap with a rubber mallet. For stone, vary sizes for organic rhythm.
5. Edge and Finish
Install metal or plastic edging to contain gravel or prevent lateral movement. Fill joints with polymeric sand to resist weeds.
Top Best Practices (and One Terrible Tip to Skip)
- Match material to use: High-traffic areas need mortared pavers; quiet zones suit mulch or pea gravel.
- Light it up: Solar path lights improve safety and extend evening enjoyment.
- Think long-term: Choose frost-resistant materials if you live in freeze-thaw zones.
- Never skip compaction: I’ve seen too many “just tamp it down with a shovel” attempts fail within months.
And here’s the terrible tip you’ll hear online: “Use old broken concrete (urbanite) without leveling.” Sounds eco-friendly, right? In reality, uneven slabs create tripping hazards and collect water. If you go this route, hire someone to cut and level pieces properly—or skip it.
Real Garden Path Examples That Work
In Scottsdale, Arizona, a homeowner replaced a cracked concrete walkway with a 42-inch-wide decomposed granite path bordered by desert marigolds. After two monsoon seasons, it remained stable—thanks to a 6-inch road base and proper edging. Meanwhile, a Portland project used reclaimed bluestone set in a running bond pattern over a geotextile fabric layer, reducing weed growth by 90% compared to their previous gravel path.
At Phoenix Putting Green, we’ve observed that clients who invest in thoughtful path design report higher satisfaction with their entire landscape. It’s the unsung hero of outdoor living spaces.
Frequently Asked Questions
What’s the cheapest material for a garden path?
Gravel or wood chips are budget-friendly upfront, but factor in long-term maintenance. Gravel scatters; wood chips fade and decompose. Crushed shale or recycled concrete offer better durability per dollar.
How wide should a garden path be?
Minimum 18 inches for single-file walking, but 36–48 inches is ideal for social flow and tool access. ADA recommends 36 inches for accessibility.
Can I install a path over existing grass?
Technically yes, but it’s risky. Grass roots hold moisture, causing settling. Always remove sod and compact the soil first.
Do I need drainage for my path?
Absolutely. Even slight slopes need grading. Standing water erodes bases and promotes mold—critical if you share concerns about allergens (see our Privacy Policy for how we handle environmental health data).
How do I stop weeds from growing between pavers?
Use polymeric sand in joints—it hardens when wet. Combine with landscape fabric underneath and occasional vinegar-based herbicide spot treatment.
Where can I get professional help with path design?
If you’re in the Southwest U.S., our team at Phoenix Putting Green specializes in seamless transitions between hardscaping and green spaces. We’d love to help you implement smart ideas for a garden path that last.
Remember: a garden path isn’t just something you walk on—it’s the journey that frames your outdoor sanctuary. Make it worthy of every step.