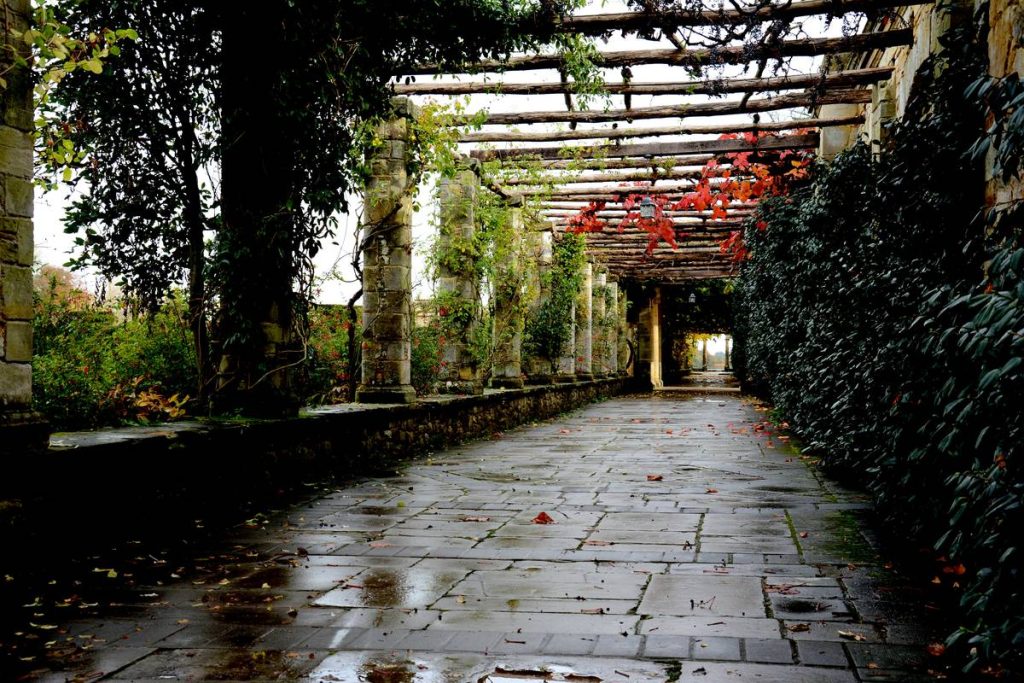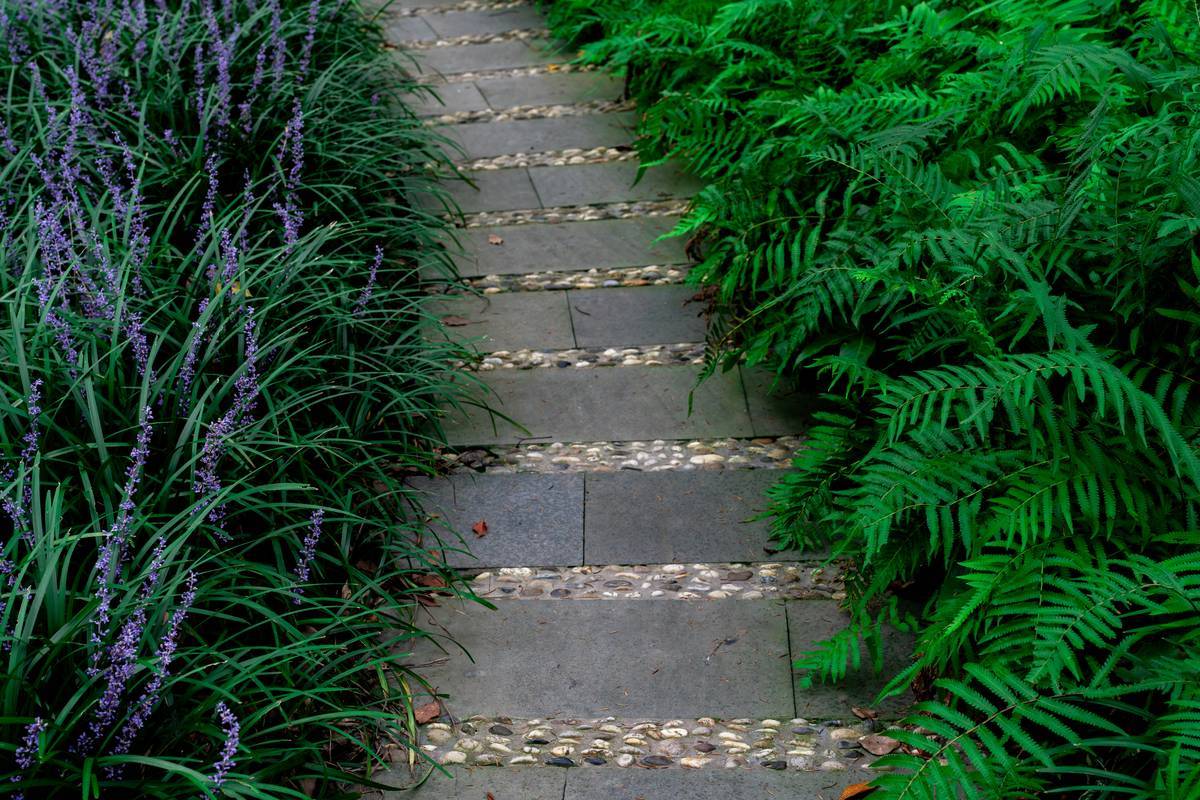
Your garden’s potential is being strangled by chaos. Muddy tracks, uneven stepping stones that wobble underfoot, or worse—no clear route at all. You’re not just losing aesthetic value; you’re sacrificing usability. But here’s the fix: building a garden path isn’t about laying pavers and walking away. It’s about strategy, drainage, and rhythm.
Why Most Garden Paths Fail Within Two Seasons
They ignore the soil. Period.
Most DIYers slap gravel or stone directly onto compacted earth without considering slope, runoff, or root intrusion. Rain turns the base into sludge. Frost heaves displace materials. And within 18 months? You’ve got a tripping hazard disguised as decor. Landscapers know this—but rarely mention it upfront because “quick installs” mean repeat business.
And if your path curves without purpose? It doesn’t invite movement—it confuses it.
building a garden path: A Step-by-Step Blueprint That Lasts
Map Your Flow Before You Dig
Where do people *actually* walk? Not where you *wish* they would. Observe traffic patterns for a week. Then, mark with spray paint—not string. String lies. Spray paint reveals truth.
Excavate with Precision (Not Power)
Depth matters more than width. For stability, dig 6–8 inches deep—even for gravel paths. Why? Capillary action pulls moisture upward. Without proper depth and a barrier, weeds explode through gaps in six weeks.
Choose Your Base Like a Pro
Sand seems easy. It’s not. It shifts. Compacted crushed stone (¾” minus) drains fast and locks in place. Add landscape fabric underneath—not as weed armor, but as a silt screen. Otherwise, fine particles clog pores and create puddles.
Lay Materials With Intention
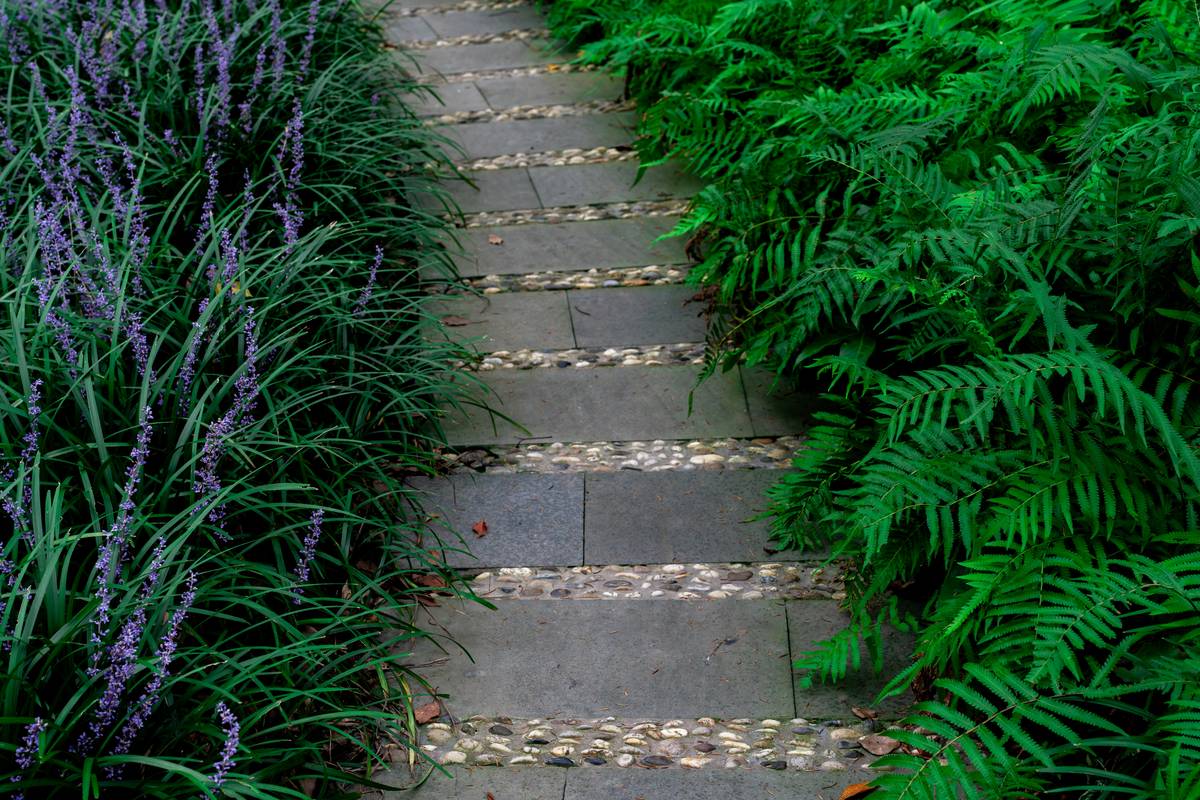
Flagstone should have ½-inch gaps filled with polymeric sand—not mortar—unless you enjoy hairline cracks every spring. Gravel paths? Use ⅜” angular gravel, not rounded pea stone. Angular bits grip each other. Round ones roll away like lazy marbles.
| Material Type | Cost per Sq Ft | Installation Difficulty | Lifespan (Years) | Best For |
|---|---|---|---|---|
| Flagstone | $12–$20 | Moderate | 20+ | Natural-looking, durable main walks |
| Decomposed Granite | $3–$6 | Easy | 5–8 (with stabilizer) | Desert-style gardens, side paths |
| Brick Pavers | $8–$15 | High | 25+ | Formal entries, curved designs |
| Gravel (Angular) | $1–$3 | Easy | 3–5 | Budget zones, woodland trails |
The Industry Secret: Edging Isn’t Cosmetic—It’s Structural
Everyone obsesses over surface material. Pros obsess over edges.
Steel, aluminum, or even buried concrete curbing? That’s what keeps your path from bleeding into turf or washing out in monsoons. Without rigid edging, lateral pressure from mowers, footfalls, or even tree roots will bulge and fracture your layout within two years. And here’s the kicker: install edging *before* your base material goes in—not after. Otherwise, you’re anchoring nothing but air.
Frequently Asked Questions
How wide should a garden path be?
Aim for 36–48 inches for main routes—enough for two people to walk comfortably. Side or service paths can be 18–24 inches.
Can I build a garden path over tree roots?
Avoid it. Roots shift seasonally, cracking rigid surfaces. If unavoidable, use flexible materials like mulch or loose gravel—and expect maintenance.
Do I need drainage under my path?
Yes—if your yard holds water. A 4-inch crushed stone base with 1–2% slope prevents pooling. No slope? Add perforated drain pipe beneath the edge.