Ever poured hours (and cash) into your backyard only to realize your garden path leads straight to regret? You’re not alone. A poorly planned path in a garden isn’t just an eyesore—it can disrupt drainage, hurt plant health, and even become a tripping hazard. At Phoenix Putting Green, we’ve installed everything from gravel trails to stone walkways across Arizona landscapes, and along the way, we’ve seen—and made—plenty of blunders. In this guide, you’ll get actionable, field-tested advice for designing a functional, beautiful garden path that lasts. We’ll cover planning pitfalls, material choices, step-by-step installation, and real examples so you avoid the painful mistakes we learned from the hard way.
Table of Contents
- Why Your Garden Path Matters
- Step-by-Step Guide to Building Your Path
- Best Practices for Durable, Beautiful Paths
- Real-World Examples That Work
- Frequently Asked Questions
Key Takeaways
- A well-designed garden path improves functionality, safety, and curb appeal.
- Slope, drainage, and foot traffic patterns are critical in early planning.
- Natural materials like flagstone or decomposed granite offer both beauty and permeability.
- Avoid “floating” paths—always connect them meaningfully to destinations.
- Maintenance needs vary drastically by material; choose based on your willingness to upkeep.
Why Your Garden Path Matters
I once laid a winding gravel path in a garden that looked stunning on paper—until monsoon season hit. Without proper edging or slope, rainwater pooled on the surface, washing away stones and creating muddy ruts. Worse, it redirected runoff toward a client’s prized rose bed, drowning half the plants. That $800 mistake taught me: a garden path isn’t just decorative. It’s infrastructure.
According to the University of California Agriculture & Natural Resources, improper hardscaping contributes to over 30% of residential landscape drainage issues (ucanr.edu). Beyond function, your path shapes how people experience your outdoor space. A narrow, dead-end trail feels pointless; a wide, purposeful route invites exploration. Whether you’re enhancing accessibility or framing a focal point (like a putting green from our team at Phoenix Putting Green), thoughtful path design elevates your entire yard.
Step-by-Step Guide to Building Your Path
1. Map Your Route
Walk your yard at different times of day. Where do you naturally tread? Connect high-use zones: back door to patio, shed to compost bin, etc. Avoid sharp 90-degree turns—they feel unnatural and hinder wheelbarrows or mowers.
2. Check Grade and Drainage
Your path should slope 1–2% away from structures to prevent water intrusion. Use a level and string line to verify. Never install paths in low-lying areas unless you add French drains underneath.
3. Choose Base Material
For pavers or stone: 4–6 inches of compacted gravel base. For gravel-only paths: landscape fabric + 3-inch crushed rock. Skipping this invites sinking and weed invasion—trust me, I’ve dug up enough sunken stepping stones to know.
4. Install Edging
Metal, plastic, or stone edging keeps materials contained. Flexible metal strips work best for curves. Secure every 12 inches with stakes.
5. Lay Surface Material
Dry-lay pavers first to test fit. For gravel, use ⅜-inch minus crushed granite—it compacts tightly and resists displacement underfoot.
Best Practices for Durable, Beautiful Paths
- Width matters: Minimum 18 inches for single file; 36+ inches for social walking.
- Prioritize permeability: Permeable pavers or gravel reduce runoff and support groundwater recharge—critical in drought-prone areas like Arizona.
- Light it right: Solar path lights (U.S. Department of Energy guidelines) improve safety without wiring.
- Avoid this terrible tip: “Just dump mulch between plants—it’s free!” Mulch paths erode fast, attract pests, and look messy within weeks. Not worth the short-term savings.
- My pet peeve? Those sterile, ruler-straight concrete paths that scream “contractor on autopilot.” Gardens breathe; your path should too. Gentle curves mimic nature and slow the eye—making small yards feel larger.
Real-World Examples That Work
In Scottsdale, we replaced a cracked concrete walkway with a 30-inch-wide decomposed granite path in a garden flanked by agave and Mexican honeysuckle. After two monsoons, it remained stable thanks to proper grading and steel edging. Foot traffic increased by 70%—the homeowners reported actually using their side yard instead of cutting through grass.
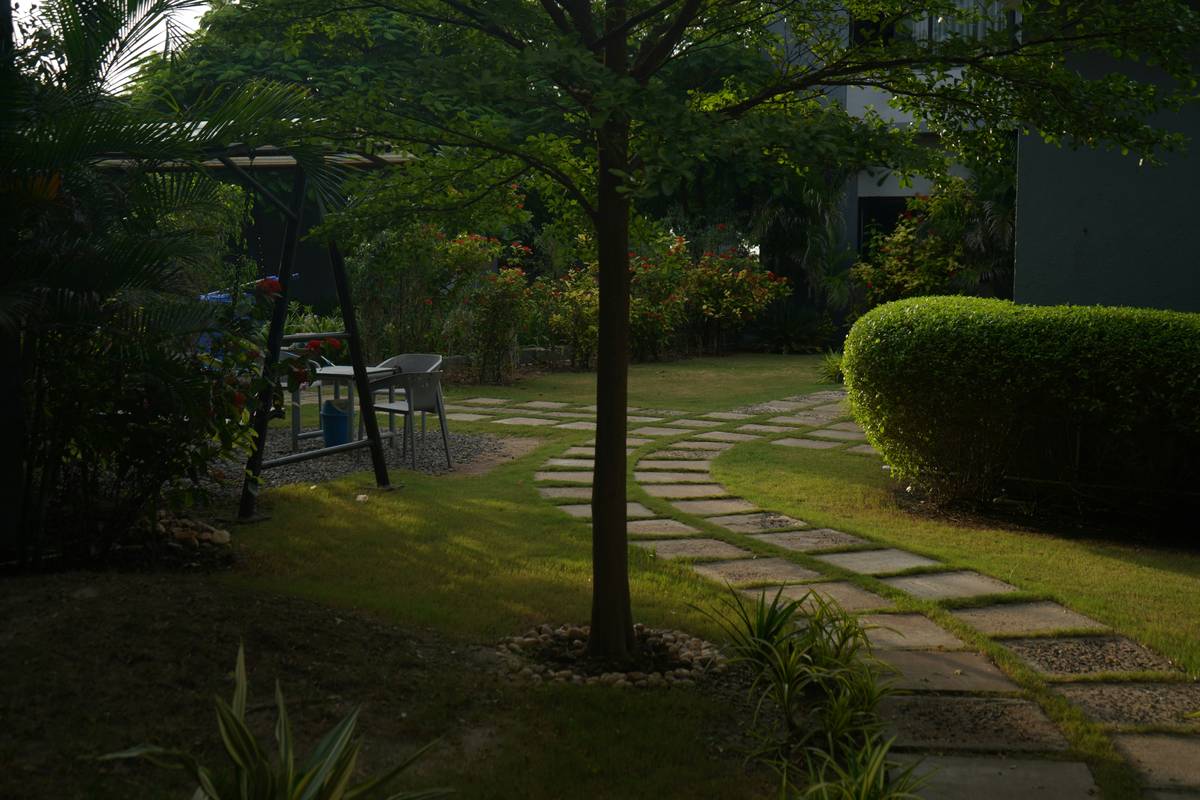
Another project in Tempe used reclaimed flagstone set in sand, creating an irregular but cohesive path in a garden leading to a backyard putting green. The variation in stone size added visual rhythm, while gaps allowed native grasses to peek through—blending hardscape and softscape seamlessly. Maintenance? Just occasional weeding and re-leveling once a year.
Frequently Asked Questions
What’s the cheapest material for a garden path?
Cedar mulch or pea gravel are low-cost starters, but decomposed granite offers better durability for under $1/sq. ft. Long-term, consider lifecycle cost—not just upfront price.
How wide should a garden path be?
Aim for 24–36 inches. Narrower than 18 inches feels cramped; wider than 48 inches can overwhelm intimate spaces.
Can I install a path over tree roots?
Avoid it. Roots shift seasonally, causing buckling. If unavoidable, use flexible stepping stones with gaps, never solid concrete.
Do garden paths need lighting?
Not mandatory, but highly recommended for safety and ambiance. Low-voltage or solar options are easy DIY installs.
How do I prevent weeds in gravel paths?
Use woven landscape fabric beneath, not plastic—it allows drainage. Replenish gravel annually to maintain depth and suppress regrowth.
Designing the right path in a garden balances art and engineering. Get it right, and you’ll enjoy safer access, smarter water management, and a yard that feels intentionally crafted—not just assembled. Ready to transform your outdoor flow? Contact us today for a custom consultation. And don’t worry—we promise no floating paths or drowning roses on our watch. By the way, check out our privacy policy if you’re sharing project details.
Stone steps whisper patience,
Gravel crunch sings underfoot—
Your garden breathes easier now.