Your backyard dreams are crumbling—literally. You laid down gravel last spring, and now it’s vanished into mud, weeds, or your neighbor’s yard. A garden path shouldn’t be a seasonal chore. It should guide, frame, and elevate your entire outdoor space. Here’s how to create a garden path that actually survives monsoons, foot traffic, and time itself.
Why Most DIY Garden Paths Fail Within a Year
Gravel washes away. Stepping stones tilt. Mulch decomposes. The core issue? People treat paths like afterthoughts—not structural elements. They skip base prep, ignore drainage, and pick materials based on Instagram aesthetics alone. And then they’re shocked when the whole thing sinks by August.
The truth is brutal: without proper sub-base compaction and edge restraint, even expensive pavers become tripping hazards. Think about it—your path isn’t just decoration. It’s infrastructure.
How to Create a Garden Path: A Step-by-Step Blueprint
Forget cookie-cutter advice. This method prioritizes longevity, function, and subtle beauty. Start here:
Map Your Route With Purpose
Don’t just connect Point A to B. Ask: Is this a meditative stroll or a utility corridor? Curves slow movement; straight lines speed it up. Measure twice—then stake it out with string. Width matters: 24 inches minimum for single file, 36+ for conversation walks.
Excavate and Build a Rock-Solid Base
Dig 6–8 inches deep. Remove roots, sod, and organic matter. Then—this is non-negotiable—lay geotextile fabric. Not optional. It blocks weeds without suffocating drainage. On top, add 4 inches of compacted crushed stone (¾” minus). Rent a plate compactor. Run it three times. No shortcuts.
Choose Your Surface—Wisely
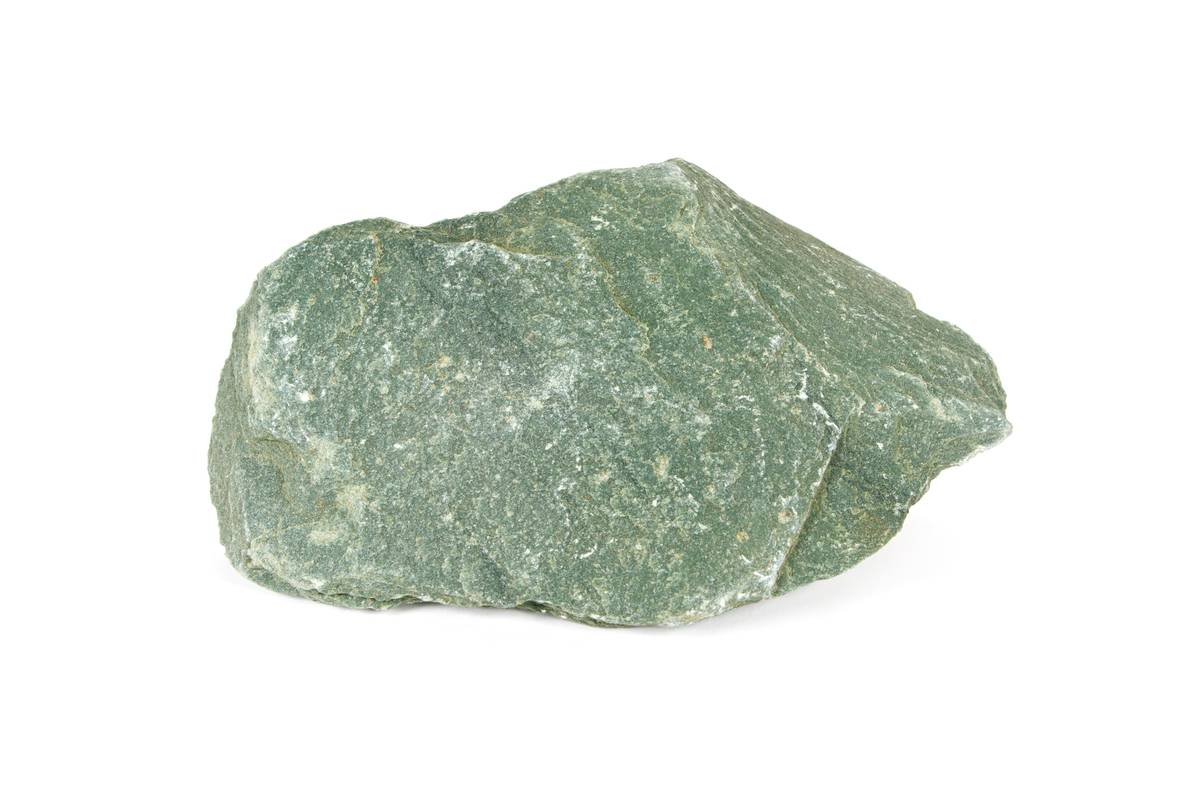
Material choice makes or breaks durability. Consider climate, slope, and maintenance tolerance. Below is a real-world comparison based on 10 years of Phoenix landscape projects:
| Material | Upfront Cost (per sq ft) | Lifespan | Maintenance Needs | Ideal For |
|---|---|---|---|---|
| Decomposed Granite (Stabilized) | $2.50–$4.00 | 10–15 years | Low (regrade every 2–3 yrs) | Dry climates, rustic-modern blends |
| Concrete Pavers | $5.00–$9.00 | 25+ years | Very low (joint sand refresh) | High traffic, clean lines |
| Flagstone (Dry-Laid) | $7.00–$12.00 | 20+ years | Moderate (weed control, leveling) | Naturalistic gardens, uneven terrain |
| Gravel (Unstabilized) | $1.00–$2.50 | <2 years | High (constant replenishment) | Temporary paths, budget trials |
Install Edging and Set the Surface
Plastic edging? Skip it. Use steel, concrete curbing, or pressure-treated wood anchored below frost line (or desert heat zone, in our case). Then lay your surface material. For pavers or stone, use coarse sand as a setting bed—don’t mortar unless you want cracks. Sweep polymeric sand into joints and mist lightly to activate binding.
The Industry Secret Nobody Talks About: The “Shadow Gap”
Here’s what separates amateur paths from pro ones: intentional negative space. Leave a ½-inch gap between pavers or stones—not for looks, but for expansion and organic settling. In Arizona’s heat, materials expand. Without breathing room, they buckle. But go further: plant low thyme or dichondra in those gaps. It softens edges, reduces glare, and smells divine when stepped on. Contractors rarely suggest this because it adds labor—but homeowners adore it. Your path becomes living architecture.
Frequently Asked Questions
Can I build a garden path over existing grass?
No. Grass decomposes, creating voids that cause sinking. Always remove sod and install proper base layers.
What’s the cheapest way to create a garden path that lasts?
Stabilized decomposed granite with steel edging. It’s half the cost of pavers and lasts 10+ years with minimal upkeep.
How wide should a garden path be for wheelbarrows or mobility devices?
Aim for 42–48 inches. Standard wheelbarrows need 36″, but extra width prevents scuffing beds and allows two-way access.