Your garden path cracks after one winter. Weeds burst through the seams by summer. You waste time, money, and sweat—only to watch it fall apart. But what if you could lay a path that ages gracefully, drains like a pro, and actually enhances your property value? The secret isn’t expensive stone—it’s smart layering.
Why 90% of DIY Garden Paths Fail Within Two Years
Most tutorials skip the foundation. Period. They show you pretty pavers on Instagram—but never the 8-inch gravel base underneath. And that’s where erosion begins.
Sand washes out. Soil shifts. Edging pops loose. Rain turns your “charming” stepping stones into tripping hazards. The math is simple: no structural integrity = constant repair.
Even premium materials won’t save a poorly prepped sub-base. Think about it—your driveway lasts decades because of engineering, not aesthetics.
How to Build a Garden Path: A No-BS, Step-by-Step Blueprint
Forget “just dig and drop.” Here’s how pros do it—with half the cost and twice the lifespan.
Step 1: Map & Excavate with Drainage in Mind
Mark your route with stakes and string—but slope it! Even a 1/4-inch drop per foot prevents puddling. Dig 6–8 inches deep. Save the topsoil for compost later.
Step 2: Install Rigid Edging (Non-Negotiable)
Plastic flex edging bends. Metal holds. Use steel or recycled composite edging buried flush with your finished grade. Screw it into ground stakes every 18 inches. This keeps everything locked tight for years.
Step 3: Layer Like a Geologist
First: 4 inches of compacted crushed gravel (¾” minus). Compact it twice—before and after watering lightly. Then add 1–2 inches of coarse sand. Never use fine masonry sand; it turns to sludge.
Step 4: Lay Your Surface—Smartly
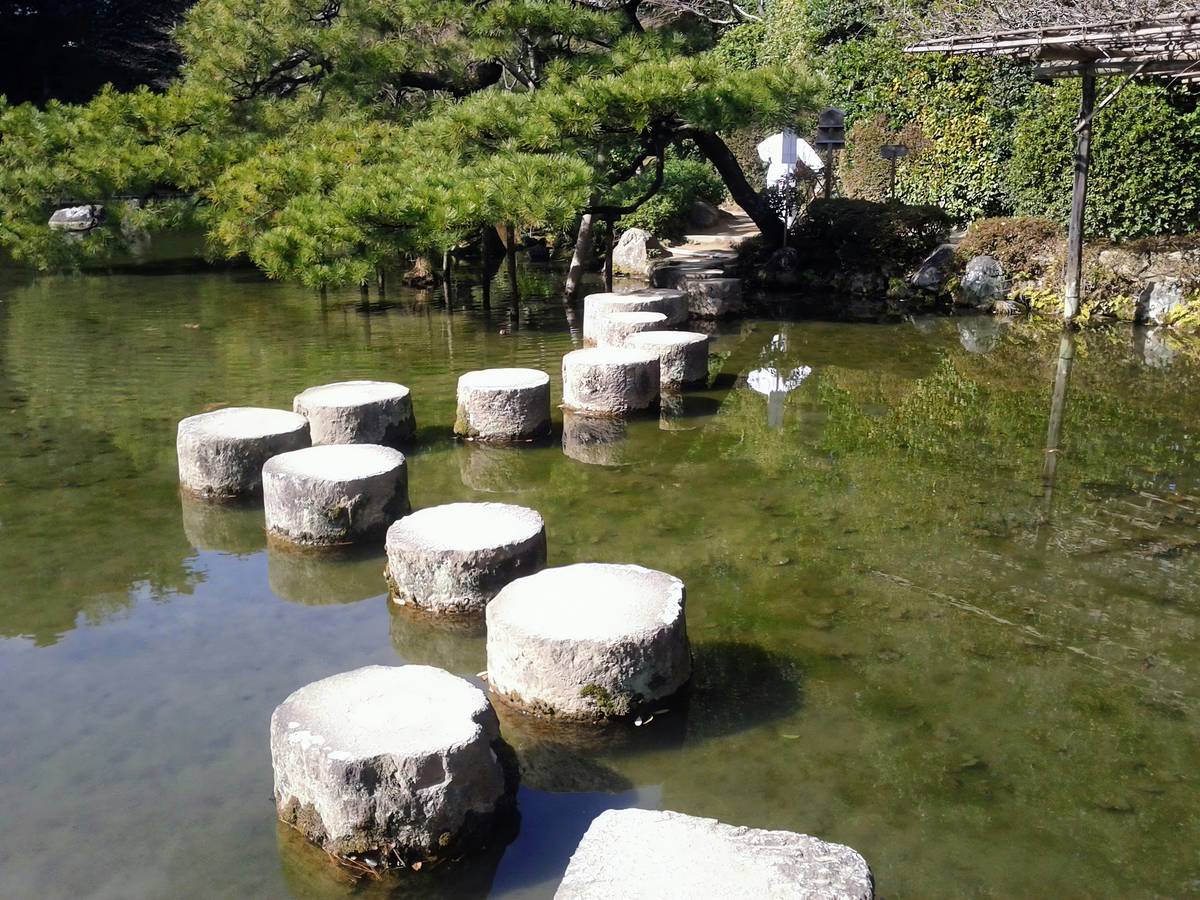
Choose materials based on traffic, not just looks. For high-use zones, flagstone or concrete pavers win. For quiet corners, mulch or pea gravel work—if contained properly.
Step 5: Lock It In
Sweep polymeric sand into joints. Mist—don’t soak—to activate binding. Wait 24 hours. Done right, weeds won’t stand a chance.
| Material Type | Avg. Cost per Sq. Ft. | Lifespan (Years) | Weed Resistance | Ideal For |
|---|---|---|---|---|
| Concrete Pavers | $8–$14 | 25+ | High (with polymeric sand) | High-traffic paths, slopes |
| Natural Flagstone | $12–$20 | 30+ | Medium (gaps need fill) | Rustic gardens, curved layouts |
| Crushed Gravel | $2–$5 | 5–8 | Low (without fabric) | Low-budget, temporary routes |
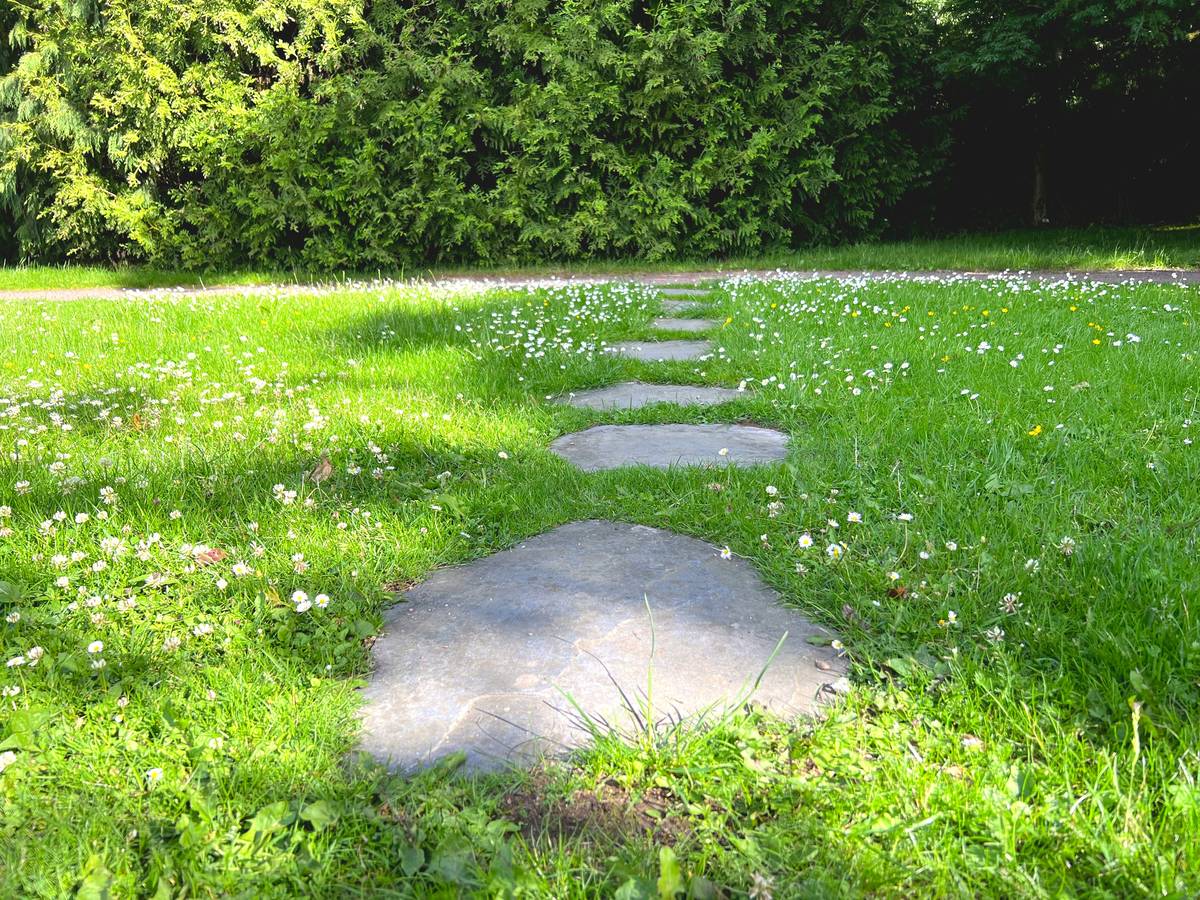
| Stepping Stones (DIY) | $3–$7 | 10–15 | Medium (if spaced tightly) | Cottage gardens, side paths |
The Industry Secret: It’s Not About the Surface—It’s About the Void
Here’s something contractors won’t tell you: the real magic happens in the air gaps beneath your path. Properly compacted gravel creates micro-channels that let water escape vertically—not sideways—which stops frost heave in cold climates.
And—this is critical—never lay landscape fabric under stone paths. It traps moisture, rots from UV exposure, and eventually shreds, leaving a tangled mess under your pavers. Real pros skip it entirely unless using organic mulch.
But if you must use fabric (for gravel-only paths), choose woven geotextile—not the flimsy black stuff from big-box stores. Even then, expect replacement in 5 years.
Frequently Asked Questions
Can I build a garden path over existing grass?
No. Grass decomposes, creates voids, and invites weeds. Always remove sod and compact native soil first.
How wide should a garden path be?
Minimum 18 inches for single file. For two people walking side-by-side—or wheelbarrow access—go 36–48 inches.
Do I need a permit to build a garden path?
Almost never for non-structural paths under 30 sq. ft. But check local HOA rules—they often restrict material types near property lines.