Your garden path looks charming… until it doesn’t. Cracks appear after one winter. Weeds explode through the gaps by July. And that “quick DIY weekend project” turns into a muddy, uneven mess that ruins your curb appeal—and your peace of mind. The good news? How to make a garden path isn’t about expensive pavers or fancy tools. It’s about physics, drainage, and one overlooked trick even landscape contractors skip.
Why 90% of Garden Paths Fail Within 3 Years
Most homeowners lay stepping stones directly on soil—or worse, grass—and call it a day. Big mistake. Soil shifts. Frost heaves. Rain pools. Without proper sub-base preparation, even the priciest bluestone will tilt, sink, or crack. And mulch paths? They disappear into sludge by August. The problem isn’t materials—it’s ignoring what happens under the surface.
Think about it: your driveway survives cars yet your garden path crumbles under foot traffic. Why? Compaction. Drainage. Layering. These aren’t “pro secrets”—they’re non-negotiables.
How to Make a Garden Path: A Step-by-Step Blueprint That Actually Works
Forget Pinterest-perfect fluff. This is battle-tested for real yards, real weather, and real budgets. Follow these steps—skip none—and you’ll build a path that ages gracefully, not embarrassingly.
Step 1: Map Your Route (And Break the Rules)
Don’t just connect Point A to B in a straight line. Curve gently. Vary width slightly (24–36 inches). Humans walk like rivers—not rulers. Mark with spray paint or garden hose. Avoid low spots where water collects. If you must cross them, plan for French drain integration later.
Step 2: Dig Deep—Deeper Than You Think
Remove 6–8 inches of soil along the entire route. Yes, even for “simple” gravel paths. This depth accommodates base material, edging, and future settling. Slope slightly (1/4 inch per foot) away from your house for drainage. No slope? You’re inviting basement headaches.
Step 3: Install Edging That Won’t Budge
Plastic garden edging flexes, warps, and pops up. Use steel, aluminum, or pressure-treated timber secured with rebar stakes every 18 inches. This keeps your path contained for years—not months.
Step 4: Build Your Foundation Right
Layer 4 inches of compacted crushed stone (¾-inch minus). Rent a plate compactor—your back will thank you. Then add 1 inch of coarse sand. Screed it level. This combo drains fast and locks pavers or stones in place.
Step 5: Choose Your Surface Wisely
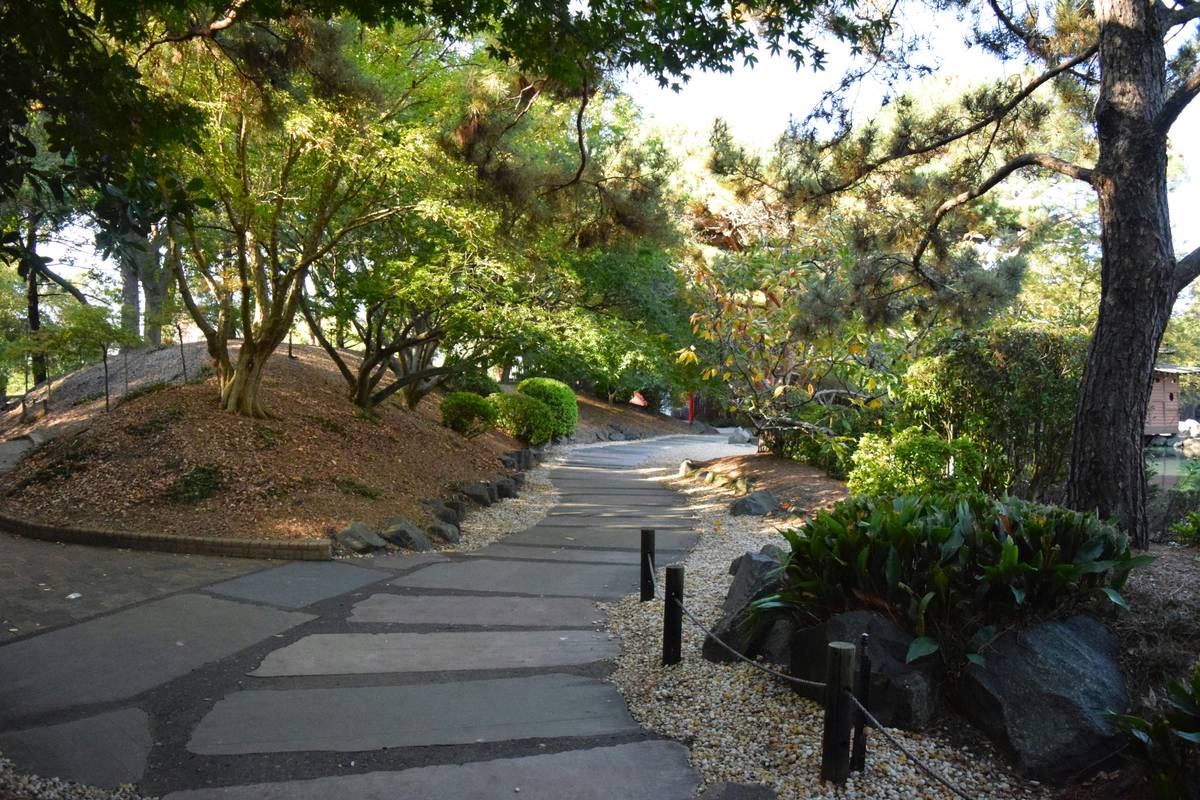
Not all materials behave the same. Here’s how popular options stack up:
| Material | Avg. Cost per Sq Ft | DIY Difficulty | Lifespan (Years) | Best For |
|---|---|---|---|---|
| Flagstone (Dry-Laid) | $8–$15 | Moderate | 20+ | Natural look, curved paths |
| Concrete Pavers | $4–$10 | Easy | 25+ | Modern grids, high traffic |
| Decomposed Granite | $1.50–$3 | Easy | 5–8 | Rustic trails, low budget |
| Gravel (Pea or Crushed) | $1–$2.50 | Very Easy | 3–6 | Temporary paths, cottage gardens |
| Recycled Brick | $6–$12 | Hard | 30+ | Historic charm, tight joints |
Step 6: Set & Secure
Place stones or pavers with ½-inch gaps. Tap each with a rubber mallet to seat into sand. For dry-laid paths, sweep polymeric sand into joints and mist lightly—it hardens like weak concrete but allows drainage. No mortar needed.
The Industry Secret: Borrow from Golf Course Construction
Here’s what no blog tells you: elite putting greens use a dual-layer base—coarse gravel underneath fine sand—to manage water like a sponge. Apply this to your garden path. Use 2 inches of ¾-inch crushed stone, then 2 inches of ¼-inch chip stone, then 1 inch of sand. It costs 15% more but eliminates puddling, frost heave, and settling. Why do contractors skip it? Time. But you’re building once—not twice. And that extra layer? It pays for itself when neighbors redo their paths next year.
FAQ
What’s the cheapest way to make a garden path?
Crushed gravel over landscape fabric. But expect weeds and shifting within 12 months. For true low cost + longevity, use locally sourced fieldstone set in sand—free if you have rocky land.
Do I need drainage under my garden path?
Yes—if your soil is clay or your yard slopes toward the path. Even 2 inches of gravel base prevents most water damage. Skip it, and you’re gambling with erosion.
Can I lay pavers directly on dirt?
Technically yes—but they’ll sink unevenly within a season. Always use a compacted stone base. It’s the difference between a path that lasts 3 years vs. 25.